Four months to get it right
Farm faster. Rank higher.
Seasonal speedruns meet ecosystem strategy.
Spring through autumn is your window to build the farm, dial in your pollinator setup, and squeeze out every point you can per day. Winter wipes everything and you start fresh. Run it again. Each time through you pick up something new: which crops actually work together, how to chain growth cycles, where the hidden points are hiding. Everything's out in the open. The math doesn't lie.
How Pollinator Synergies Actually Drive Your Growth
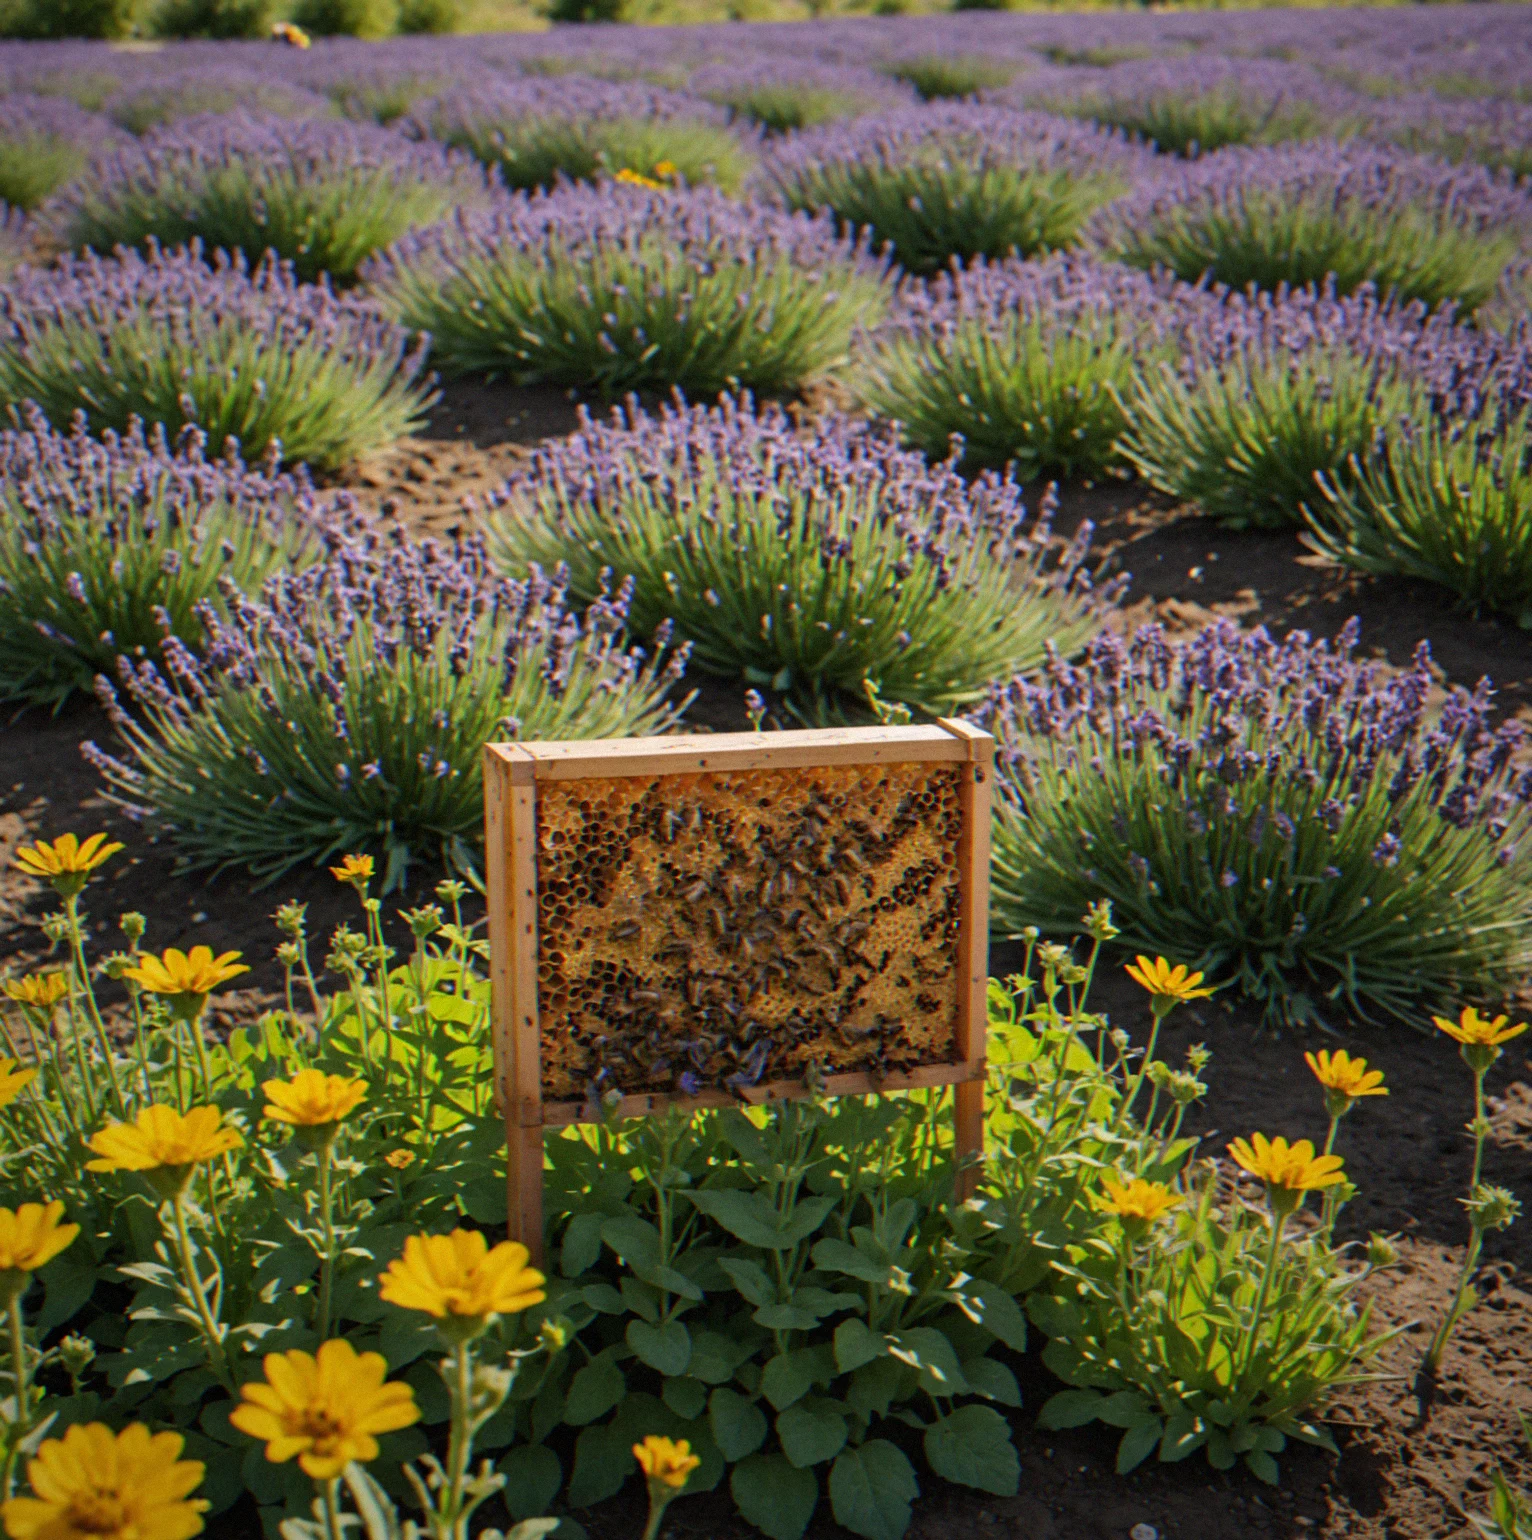
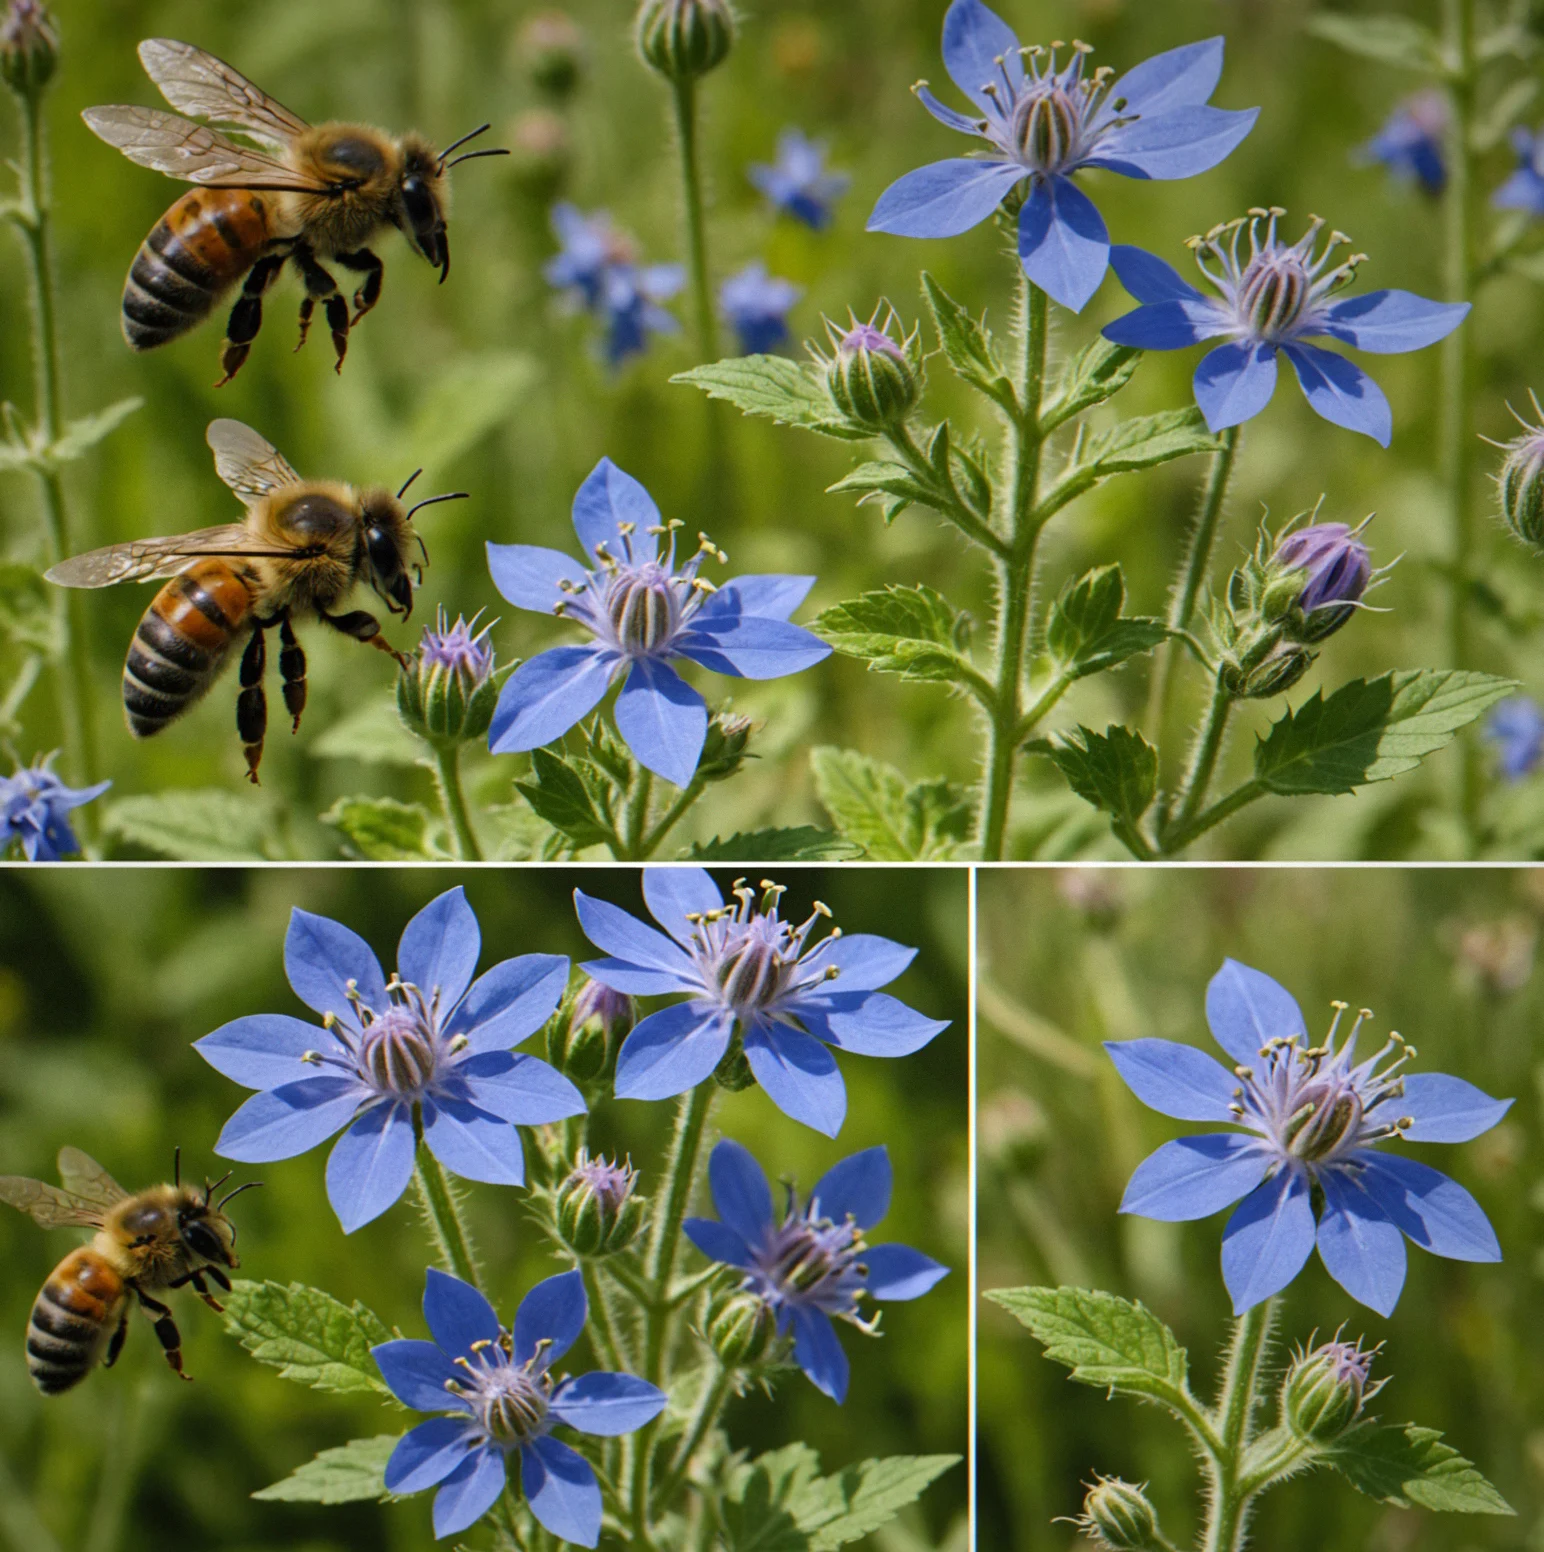
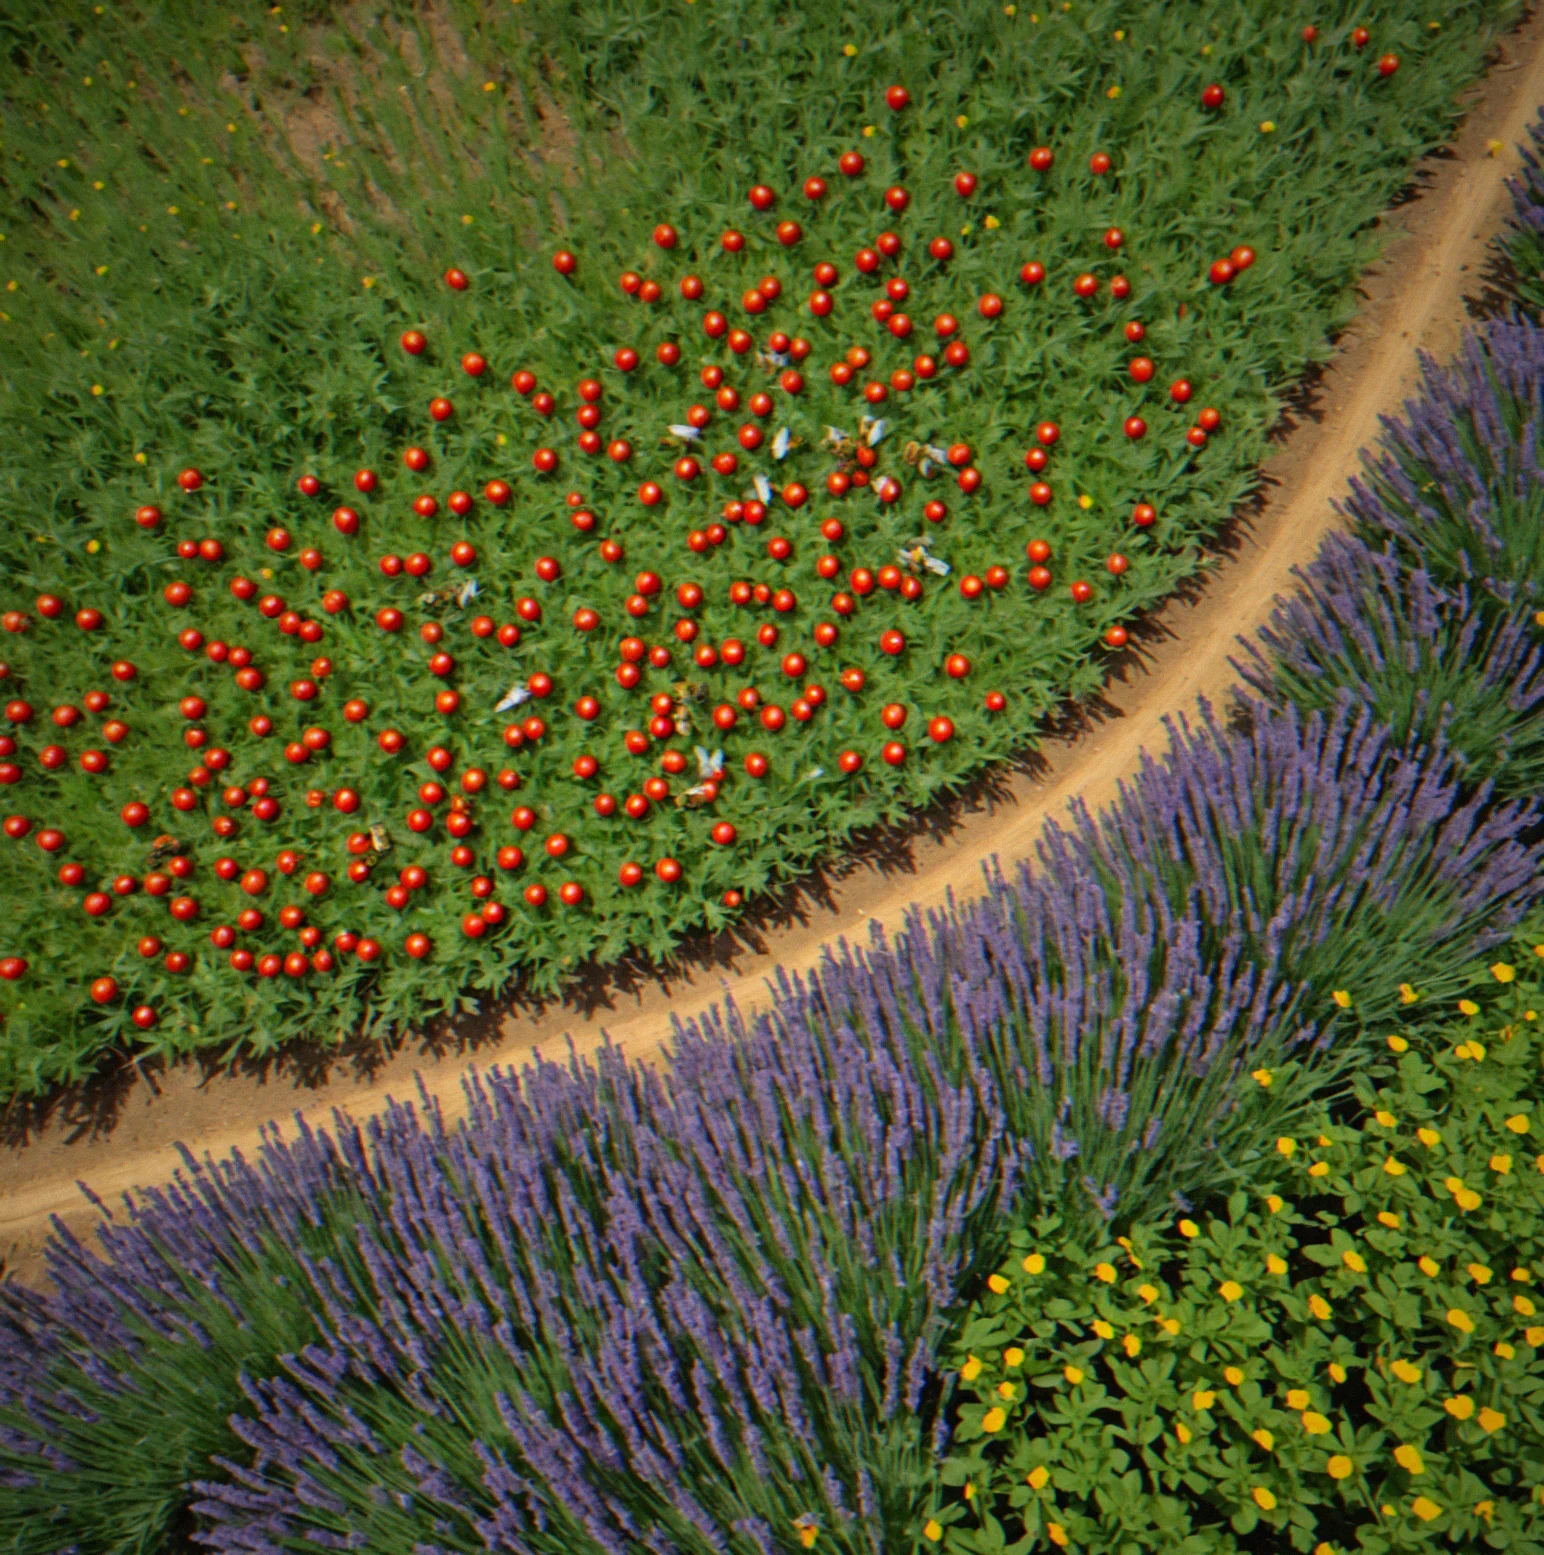
Plants don't do well on their own. Every crop depends on pollinators—honeybees, mason bees, butterflies, moths—and those relationships directly affect how fast things grow. Put lavender next to your tomatoes and you'll notice the pollinator activity pick up immediately. Stick tomatoes by themselves and everything moves slower. This is the real heart of the whole optimization puzzle. Most people don't figure this out until day 60 or so, which is when they realize why their harvest value isn't climbing anymore.
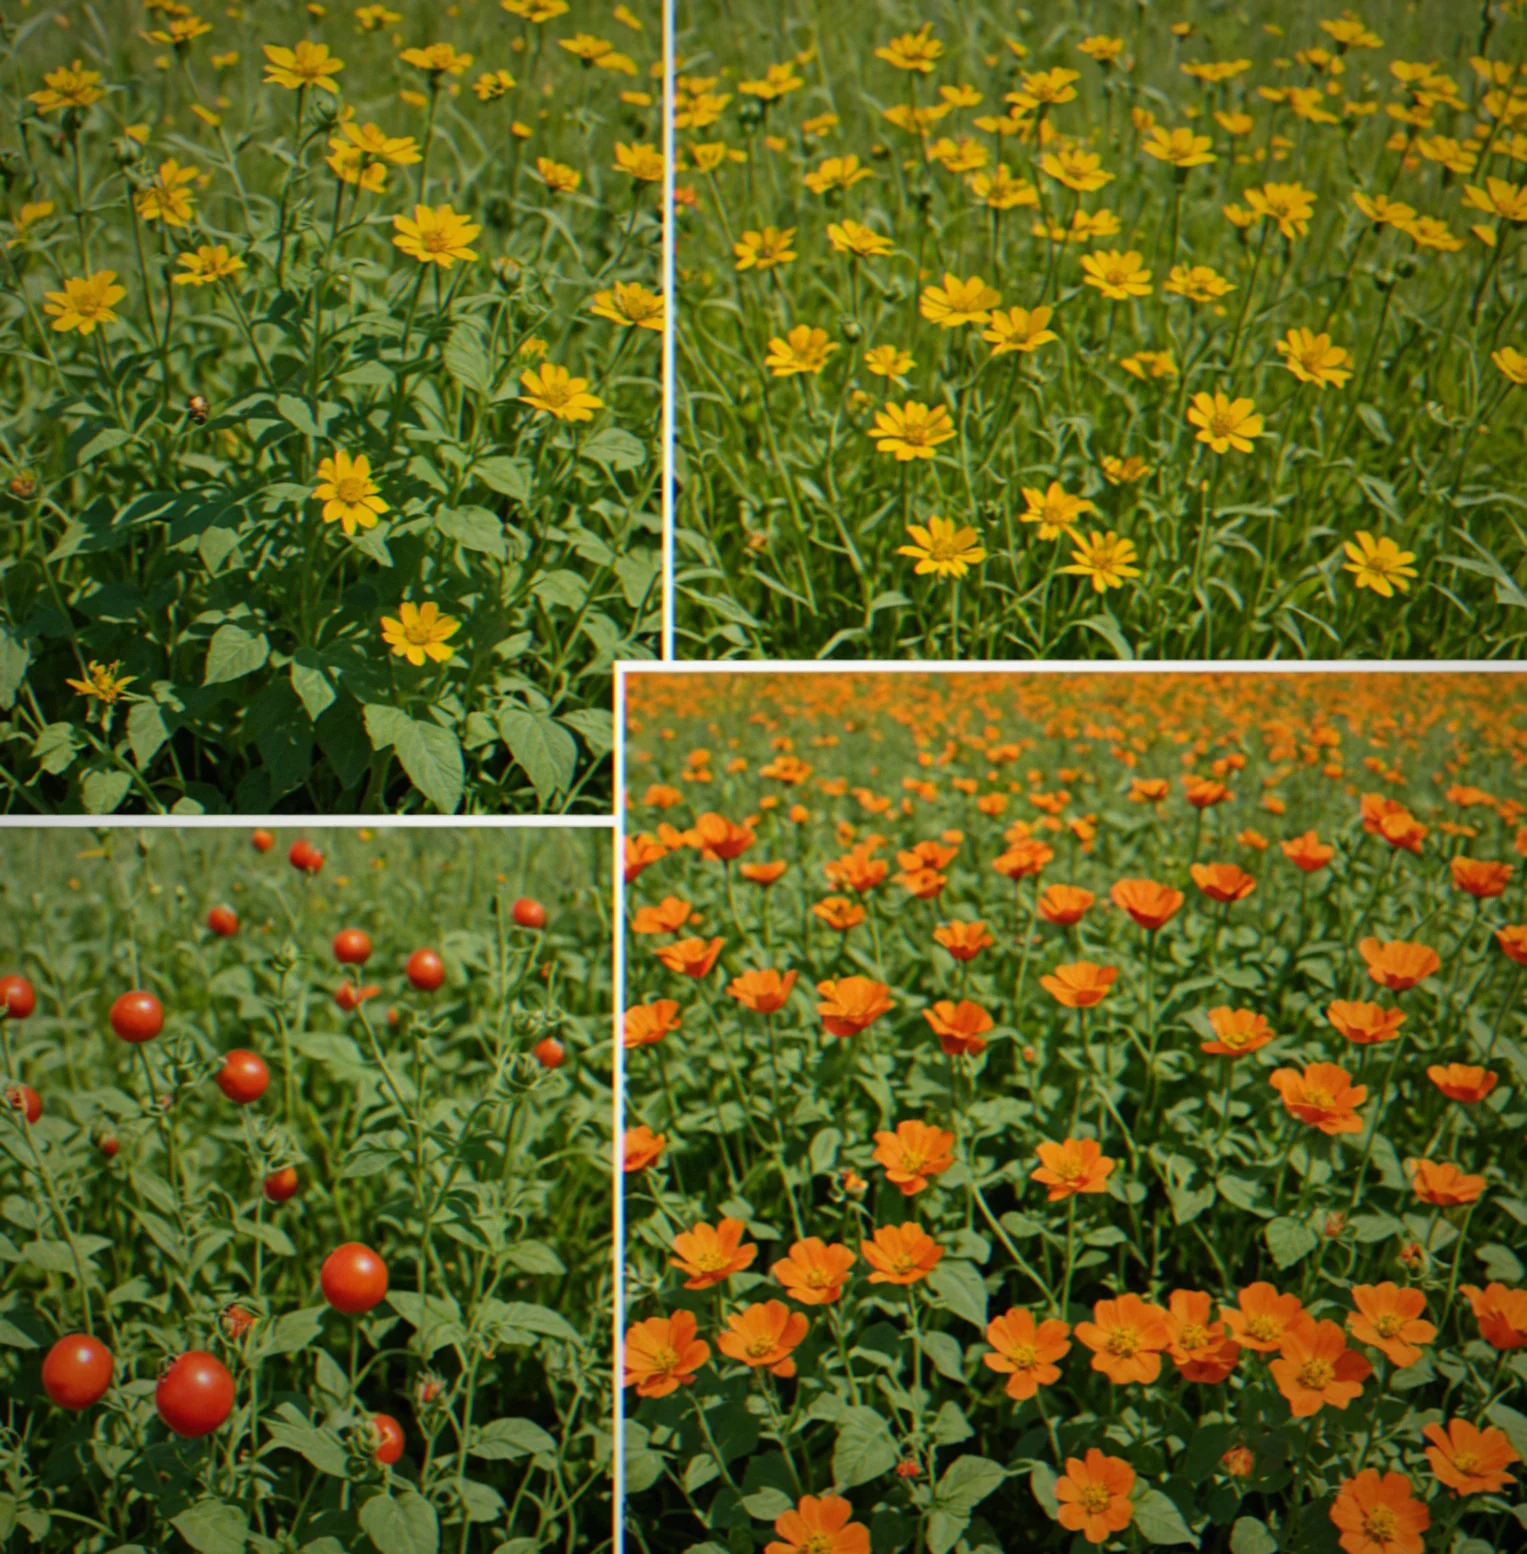
The game rewards you for paying attention. Start mapping out which pollinators like which plants. Experiment with rotation patterns. Find the combinations that turn a sluggish farm into something that actually hums. A tomato on its own takes about 8 days to be ready. Get some honeybees working nearby and that's down to 5 days. Throw in borage as a companion and you're looking at just over 3 days. That's not a small bump—it's the difference between fighting for rank 500 and actually cracking the top 50.
Every playthrough teaches you something. You'll get to day 40 and realize your mason bees were planted 2 tiles in the wrong direction. You'll catch that purple wildflowers show up on day 18 but only matter for leaf-cutter bees. By your fifth or sixth run, you're hunting for improvements in decimal places. That's what keeps pulling people back.
What Sets This Apart
Transparent Mechanics
All the growth modifiers, pollinator preferences, synergy bonuses—you can see the actual numbers. Nothing's hidden. No random chance deciding where you end up on the leaderboard.
Repetition-Based Mastery
First playthrough you're just exploring. By five playthroughhs you've got a strategy. By ten you're chasing improvements that most other players haven't even noticed.
Seasonal Reset Structure
Winter clears everything. Scores lock in on the leaderboards. Spring starts fresh. That rhythm keeps things from feeling stale—each new season feels urgent.
Leaderboard Math That Actually Matters
It all comes down to harvest value per day. A casual player might hit around 1,200. Someone who's really optimized gets to about 2,100 in the same window. That gap is totally knowable and totally closeable.
No Pay-to-Win
Buy once, own it forever. The leaderboard is pure skill—no cosmetics, no shortcuts. Every advantage you see someone else pull off came from their actual work.
Ecosystem Depth Without Bloat
Five pollinator types, forty different crops, companion planting rules. Simple enough to grasp in an afternoon but deep enough to explore for months.
120-Day Sprint
You've got spring through autumn to build your score. Winter hits and everything resets—that's when your harvest gets posted to the leaderboard. The timer isn't flexible. It's the actual game.
Transparent Growth Math
All the multipliers are right there. Plant a tomato by itself and it takes 8 days. Add honeybees and you're down to 5. Throw in borage and you hit 3.2 days. The math is visible. You can see exactly why someone at rank 50 crushes rank 847.
Pollinator Synergies
Five different pollinators show up as the season goes—honeybees, mason bees, leaf-cutter bees, butterflies, moths. They each have plants they prefer. Stack the right ones together and your growth rate multiplies. Finding those combos is basically the whole thing.
Replayability Built In
Losses teach you something. Every run you learn plot placement, when to activate pollinators, how to rotate your crops. By your tenth run you're Sweating over tiny optimizations. It keeps feeling different.
One Metric to Rank
Harvest value divided by in-game days. That's the only number that matters. Leaderboards are straightforward. No hidden formulas. Where you stand actually shows your skill level.
No Paywalls
Pay once and you're done. Leaderboards run on skill alone. No cosmetics to buy.
Gameplay in Action
What does a 120-day sprint actually look like? Farm layout, timers, synergies and the leaderboard that actually matters.
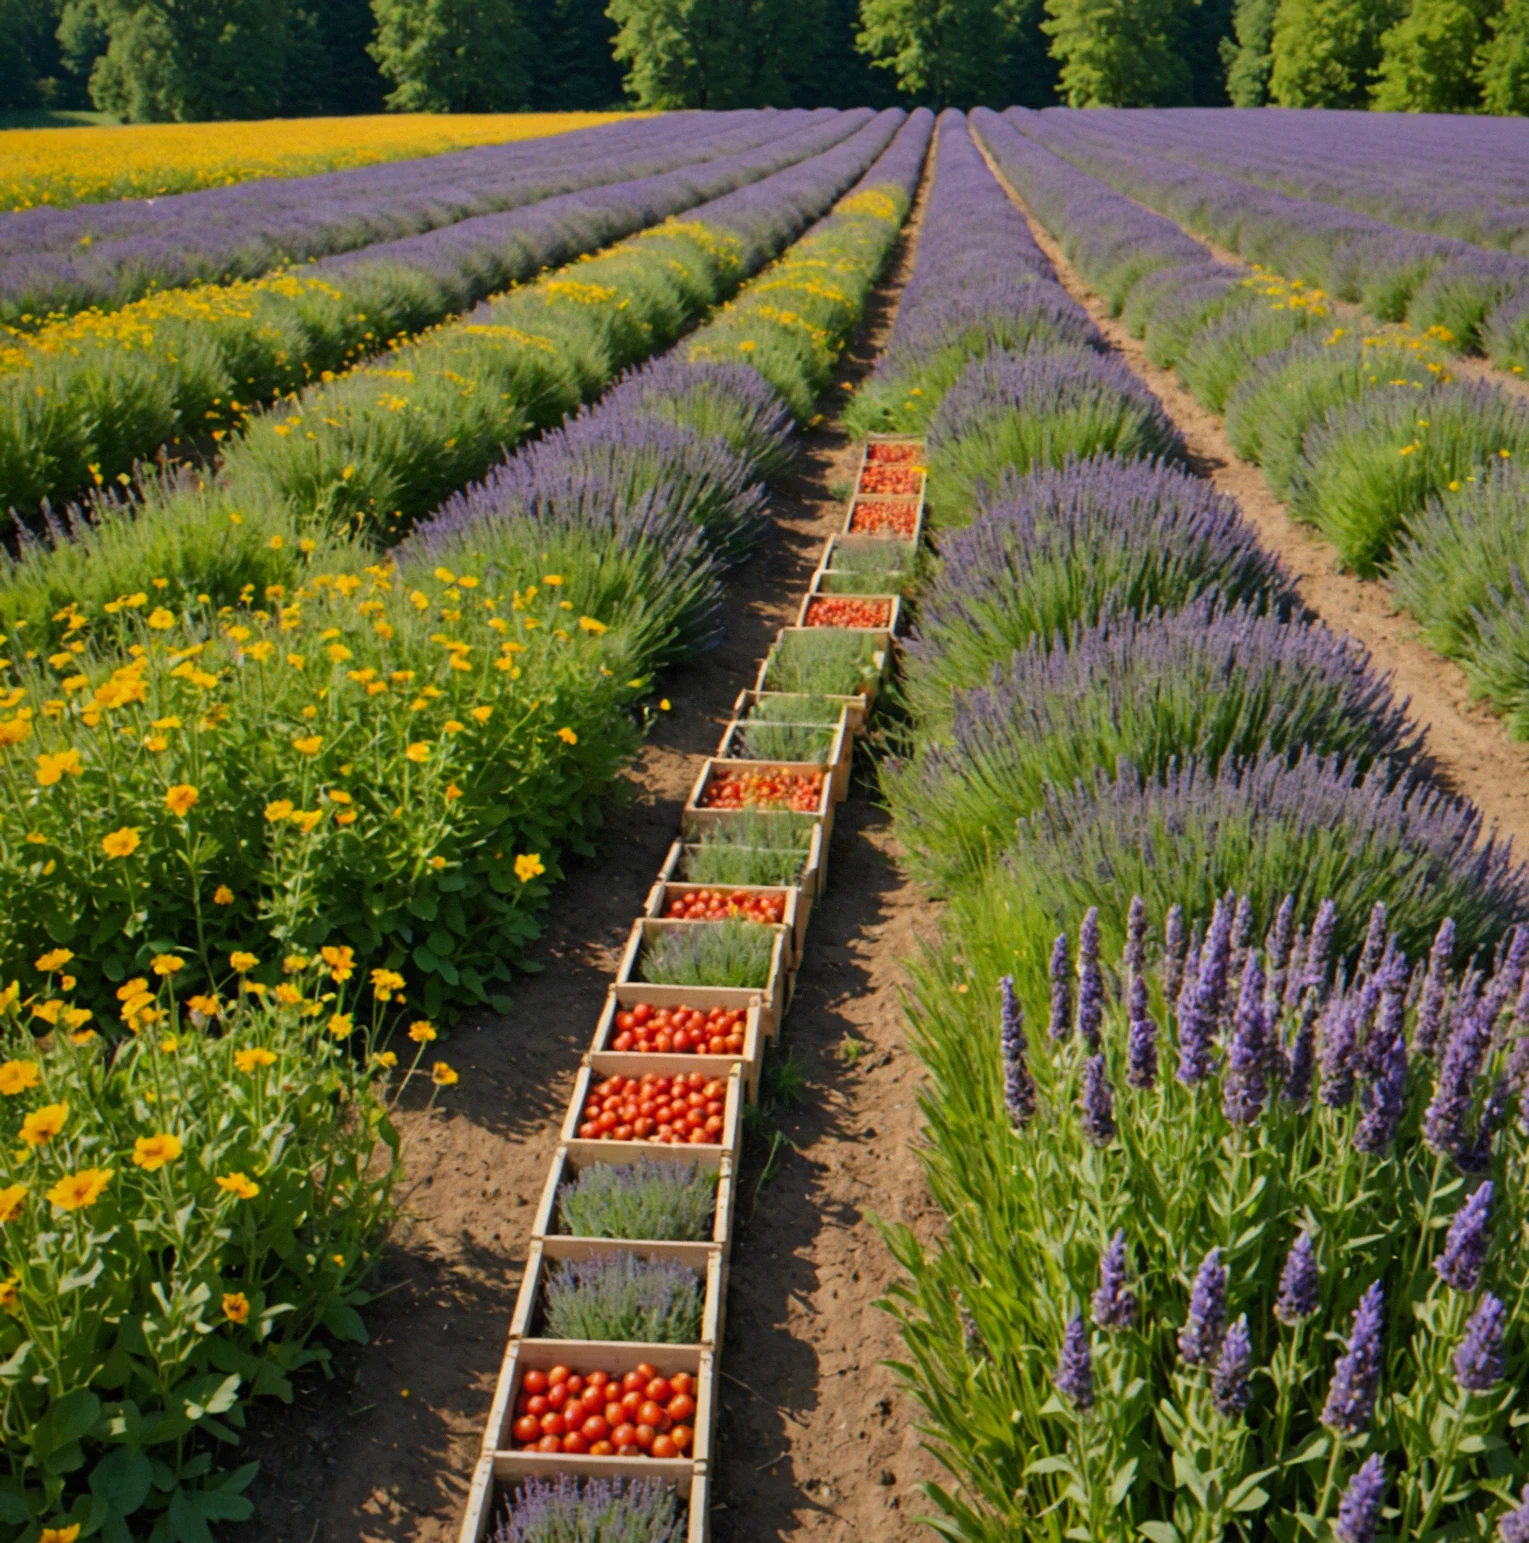
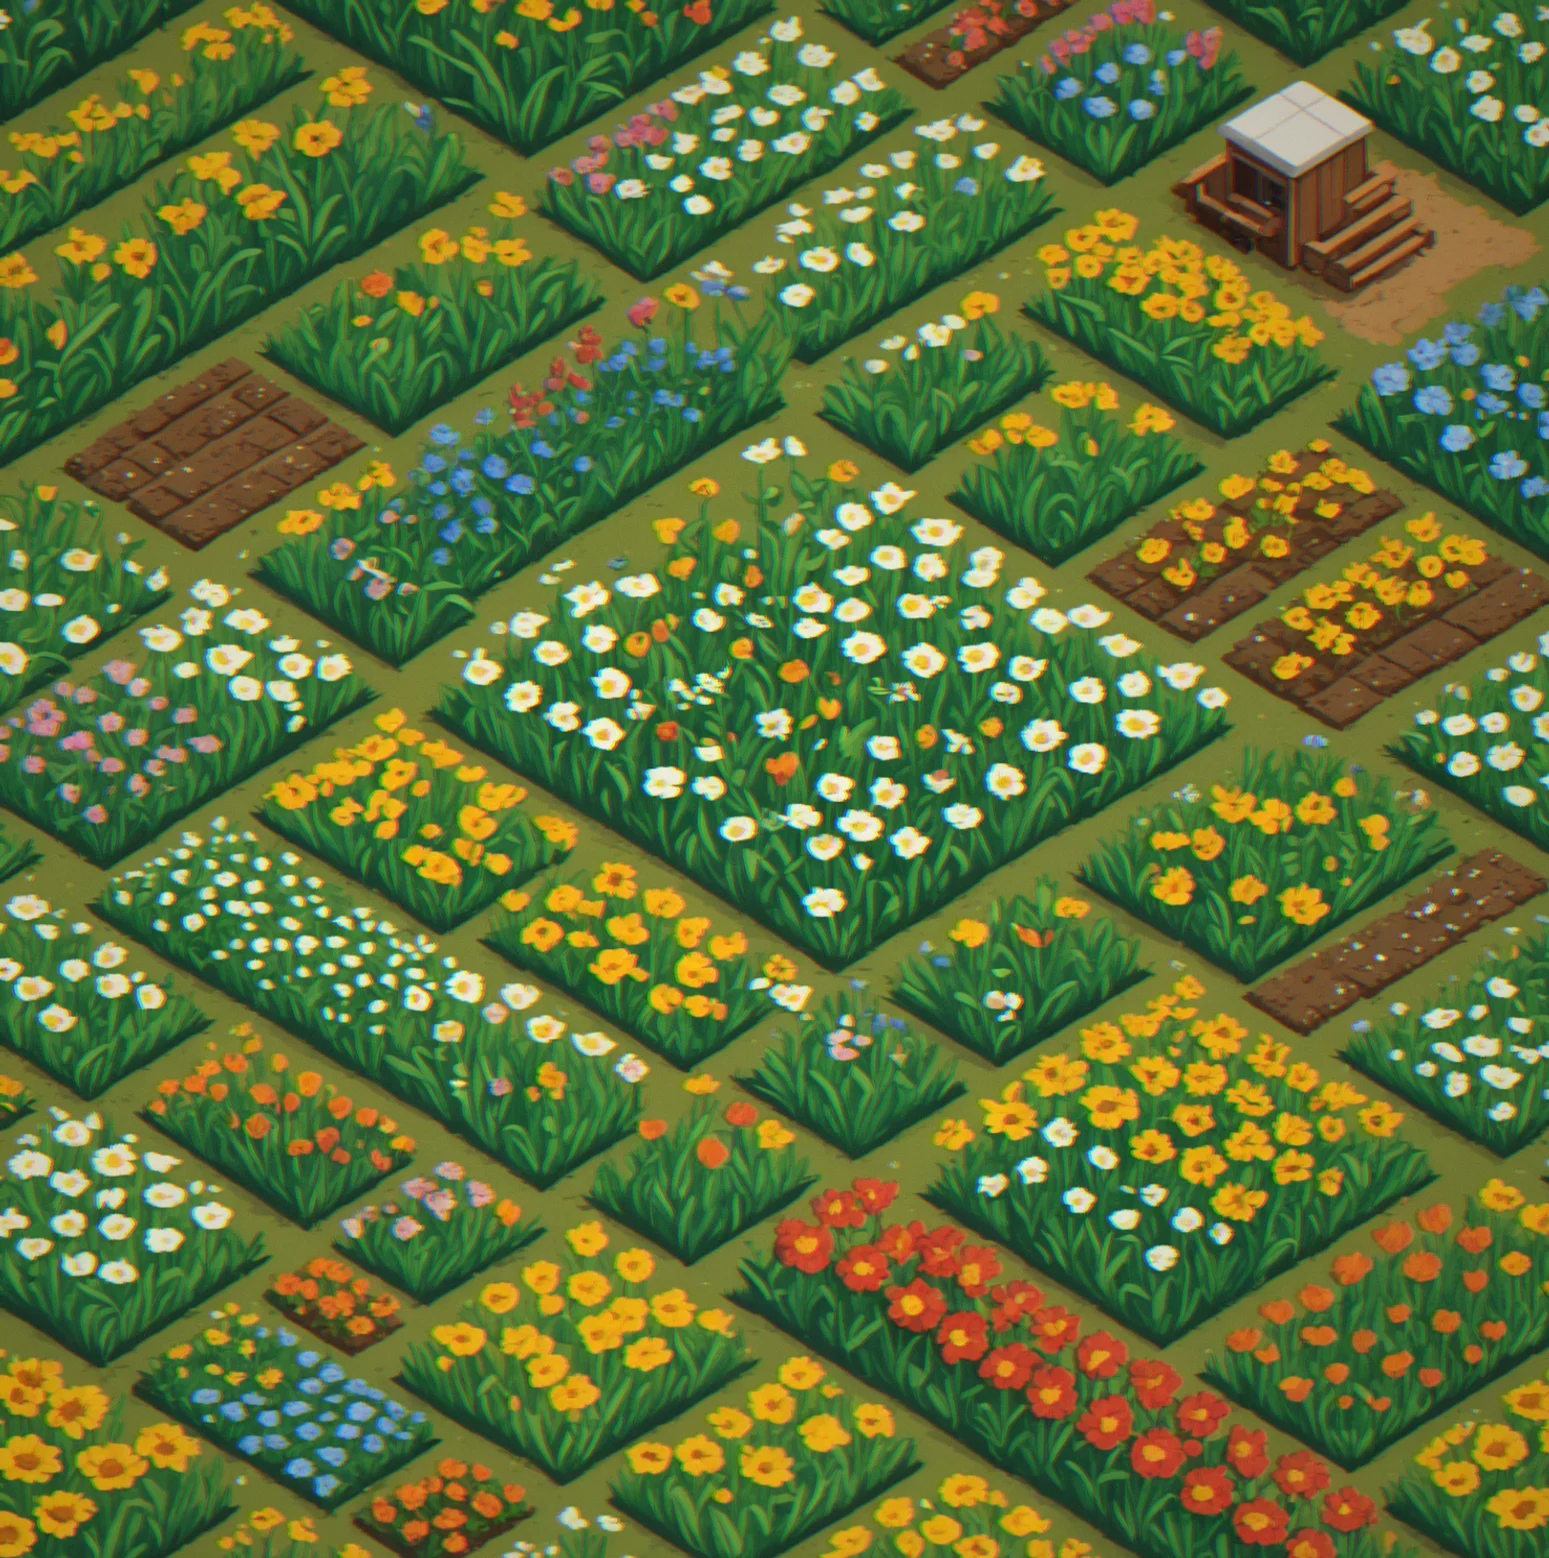
Spring farm with rows of tomatoes and lavender neatly laid out, honeybee hive tucked between the sections
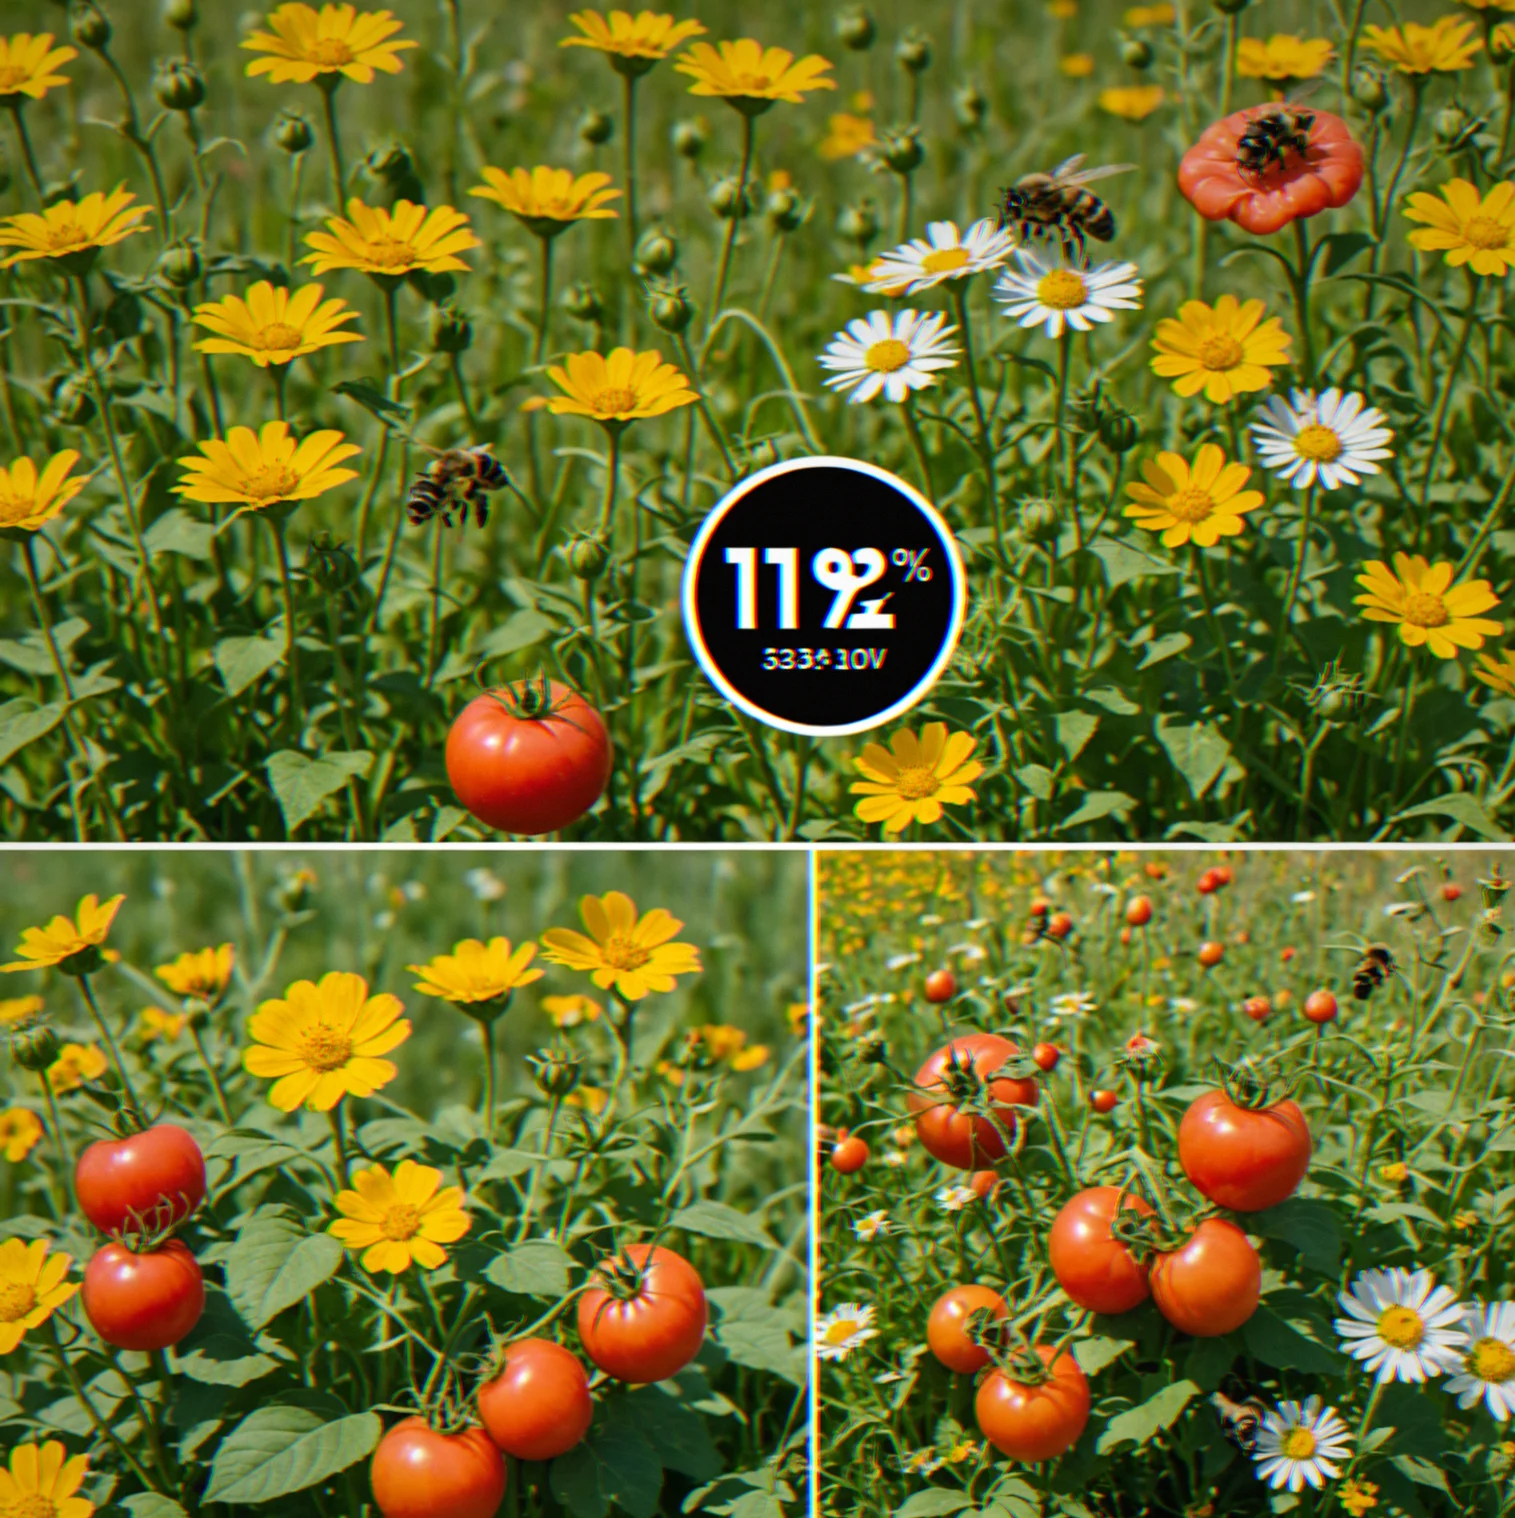
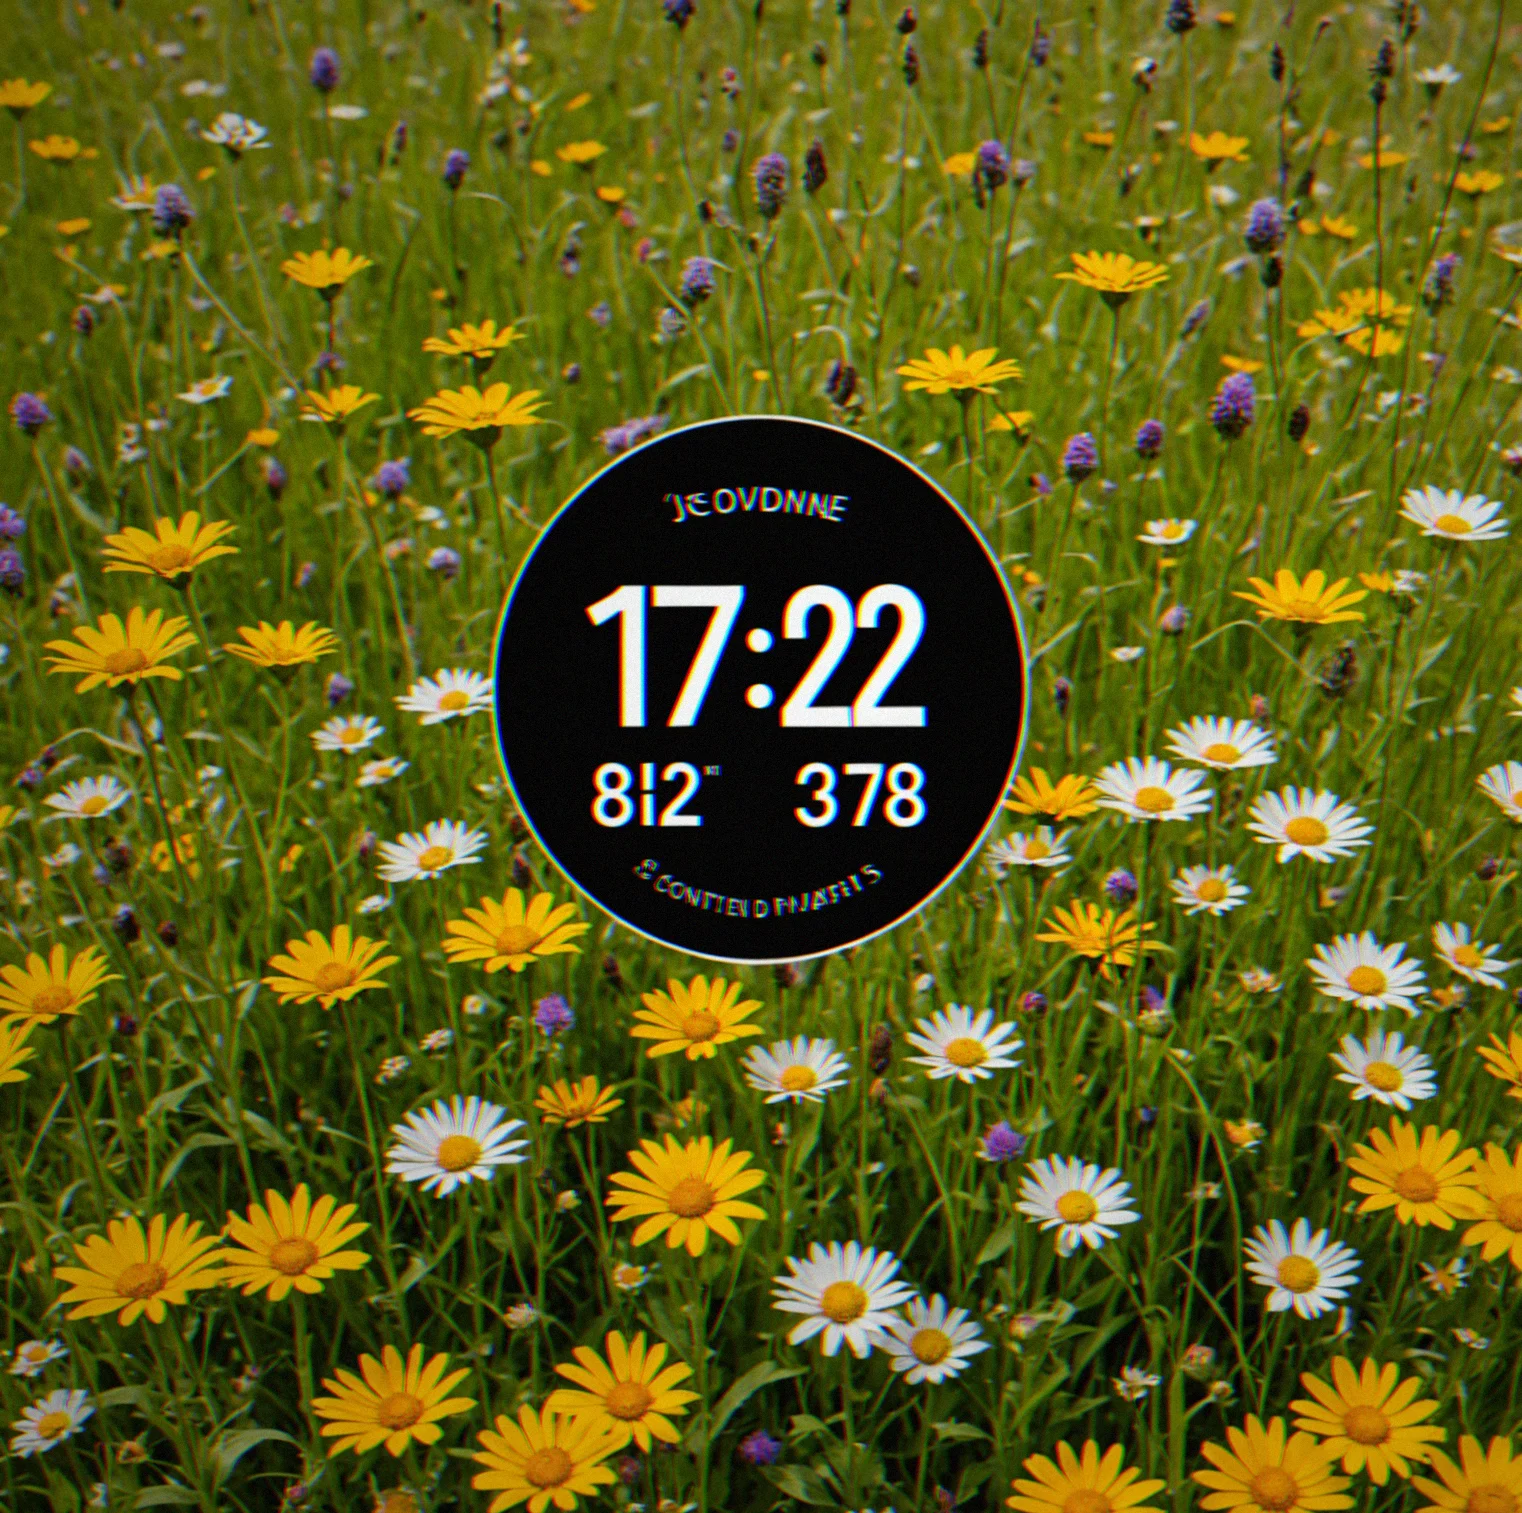
Harvest timer showing just over 3 days left on the tomatoes, pollinator boost currently active
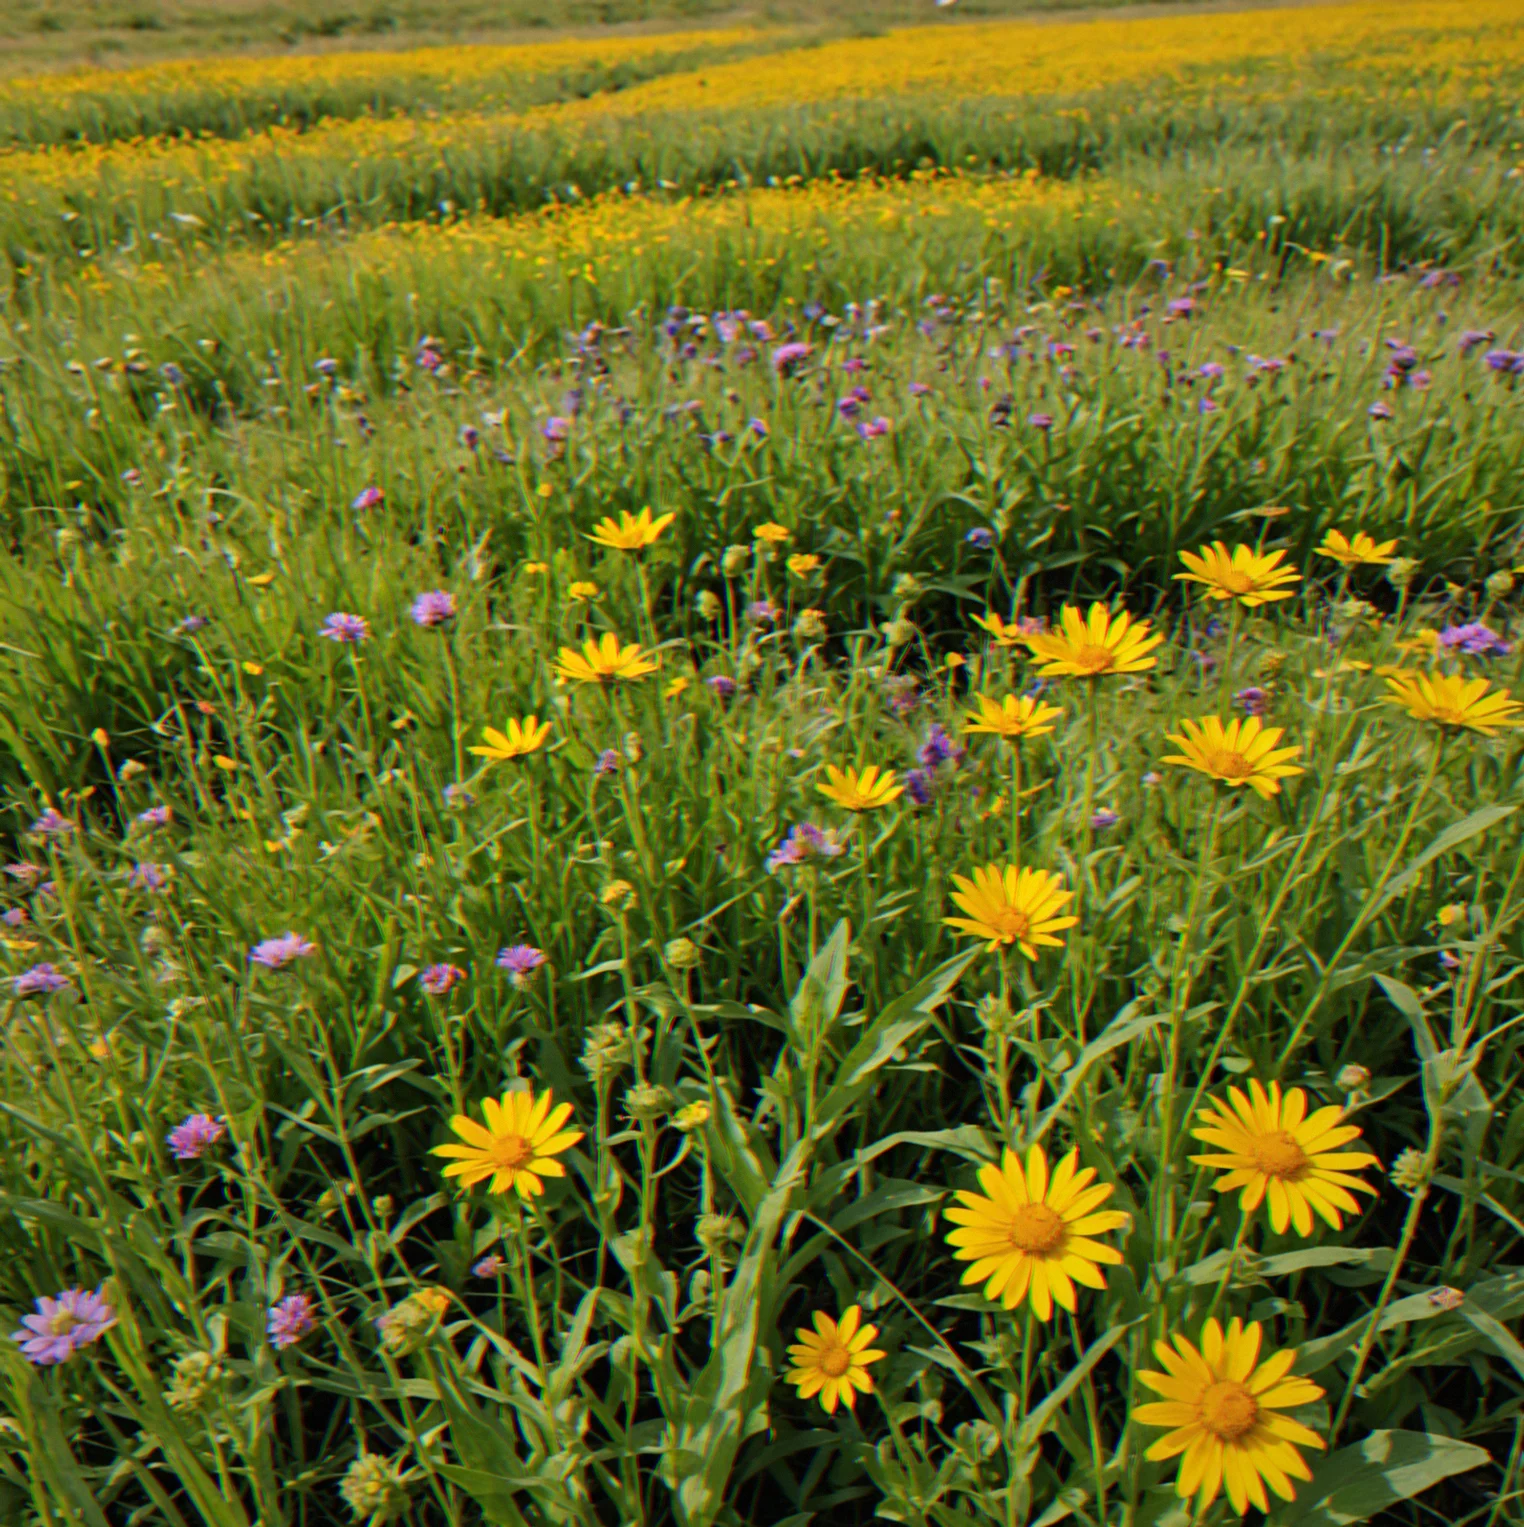
Day 67 of the run with several crops ready to pull and autumn plots getting prepped in the background
Top 15 players on the global leaderboard ranked by harvest value per day, weekly challenge modifier applied
Season over. Final harvest total displayed alongside rank position 284
How Rapidmeadow Works
Four core piplars that define the speedrun-farming experience.
Seasonal Time Pressure
You get just over four months—spring through autumn—to squeeze out as much harvest value as you can. Come winter the farm locks up and your score hits the leaderboard. Then everything resets. This isn't something you can tinker with forever. It's a race against the calendar, and that deadline means every single decision has weight.
Pollinator Ecosystem
How fast things grow depends entirely on which pollinators you're using and how they work together. Honeybees do wonders for tomatoes. Mason bees are even better. Throw borage in as a companion and suddenly that tomato's ready in just over three days instead of eight. You can see exactly how it all works. The ways to optimize it? Basically infinite.
Leaderboard Ranking
It all comes down to one number: harvest value per in-game day. Nothing hidden in the calculations, no random chance messing with your rank, no paid cosmetics sneaking in an edge. Where you land tells you something real about your strategy and how well you executed it.
Replayability Loop
Every run teaches you something new. Maybe it's the best way to arrange your plots or when exactly the pollinators are most effective, or how to chain crops together properly. Your first attempt is mostly just figuring things out. By your fifth run you're following a real plan. Get to ten and you're chasing optimizations that most people haven't even thought about yet. It keeps going.
120 Days to Optimize
Spring through autumn. Fixed window. Every playthrough is a fresh 120-day sprint with the same seasonal constraints. By run five you're executing plans, not exploring. By run ten you're hunting decimal improvements.
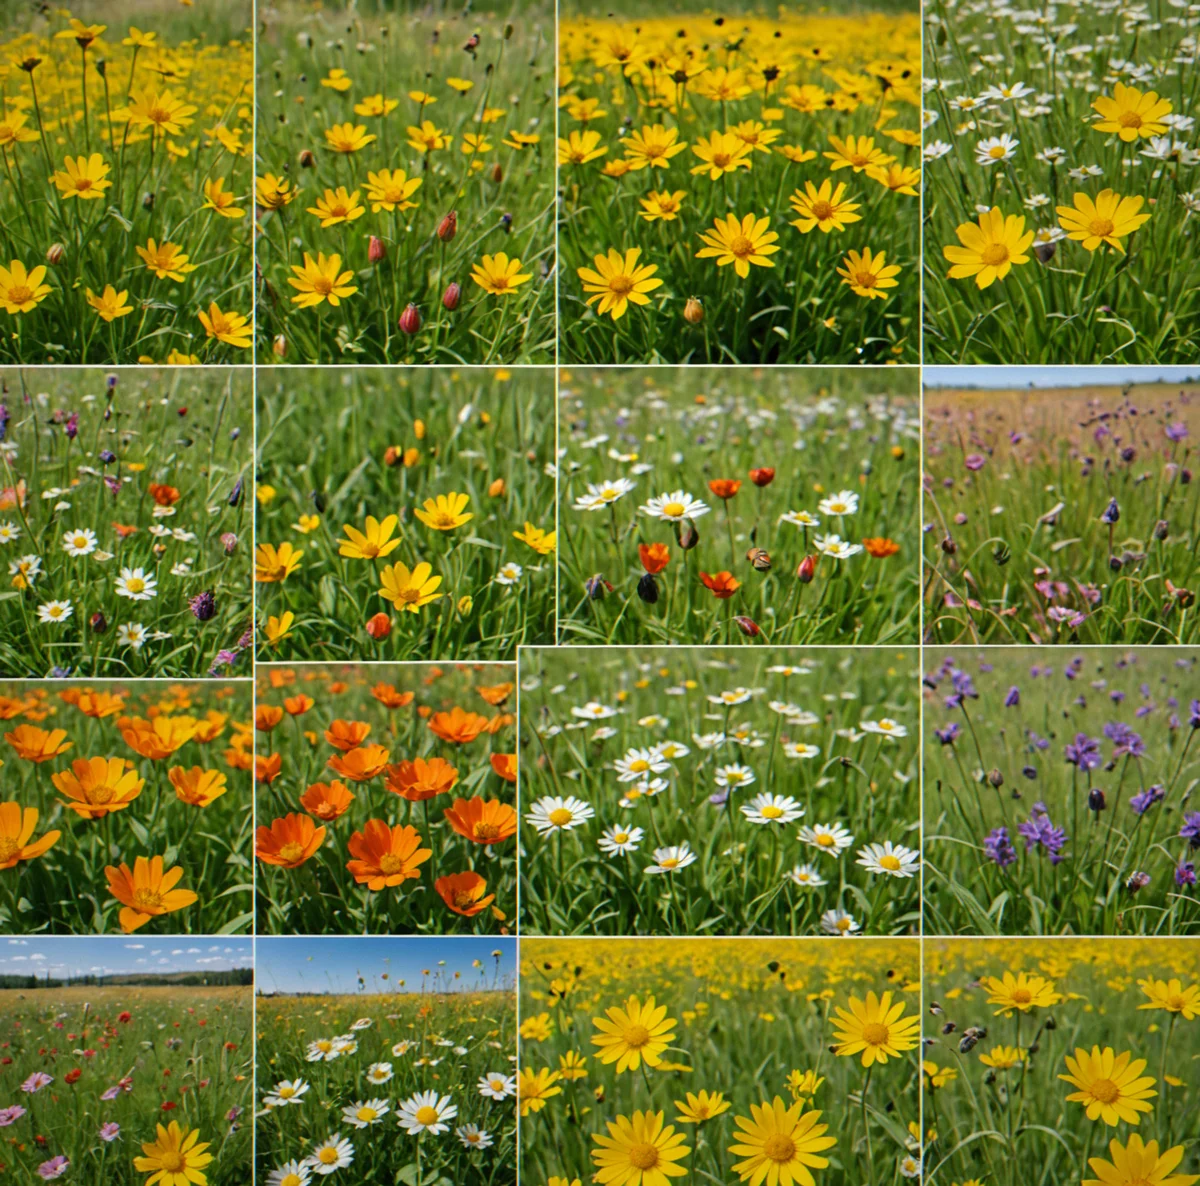
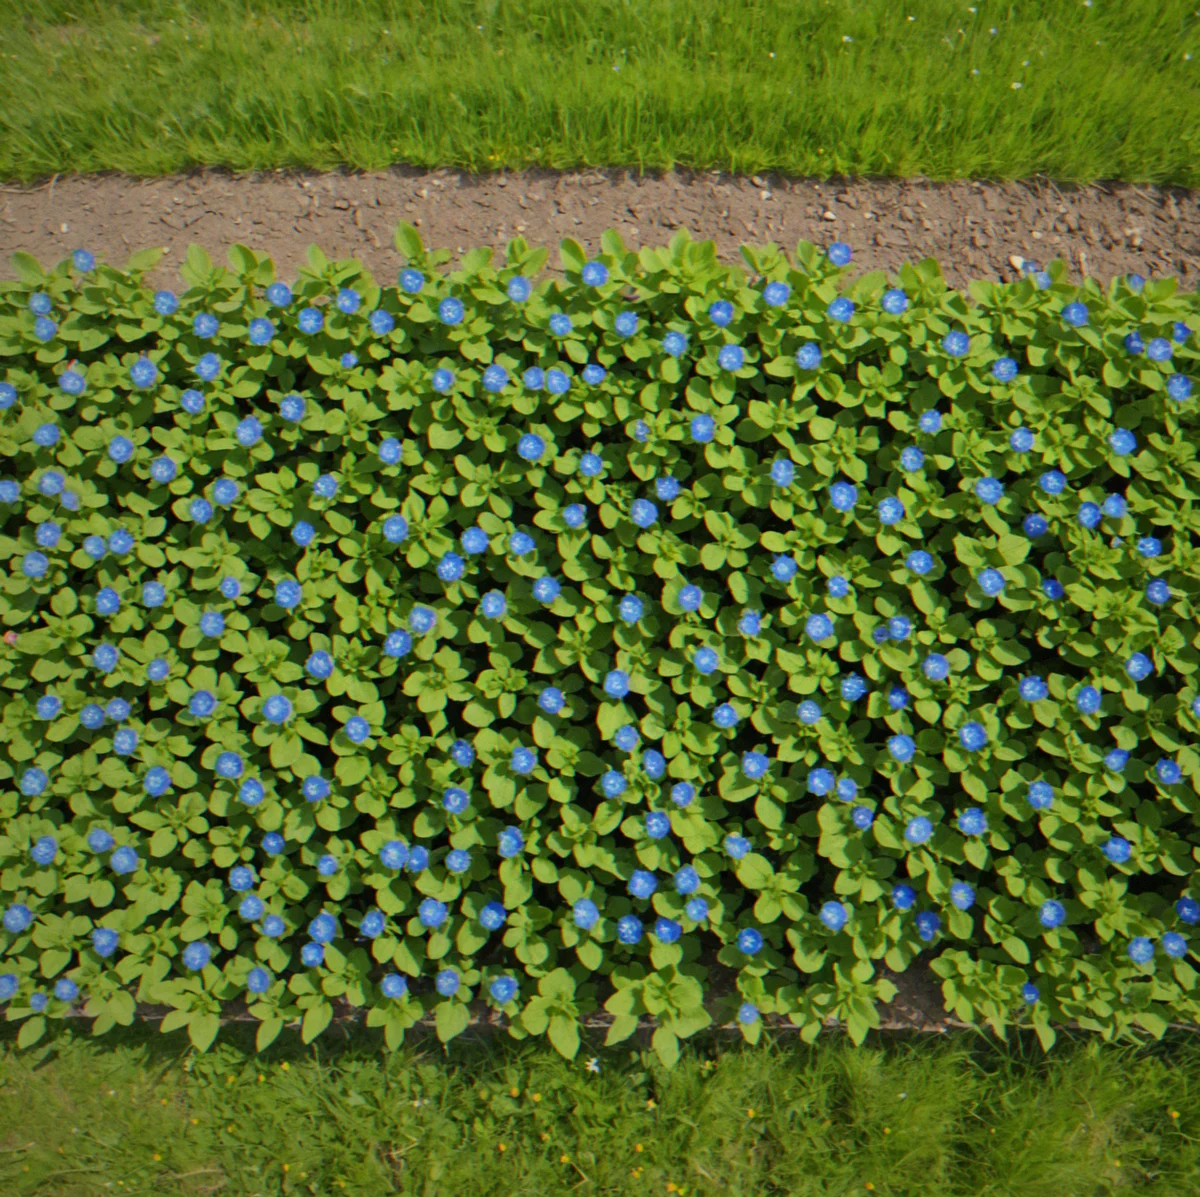
Pollinator Synergies
Five pollinators. Forty crop varieties. Plant tomato alone and it takes eight days. Add honeybees and you're down to five. Throw in borage as a companion and you hit around three days. The synergy chains multiply growth rates and that's where the ranking gaps really open up.
One Clean Metric
Harvest value per in-game day. That's the leaderboard. No hidden calculations. No RNG. No cosmetics giving advantages. Your rank position is pure skill and execution.
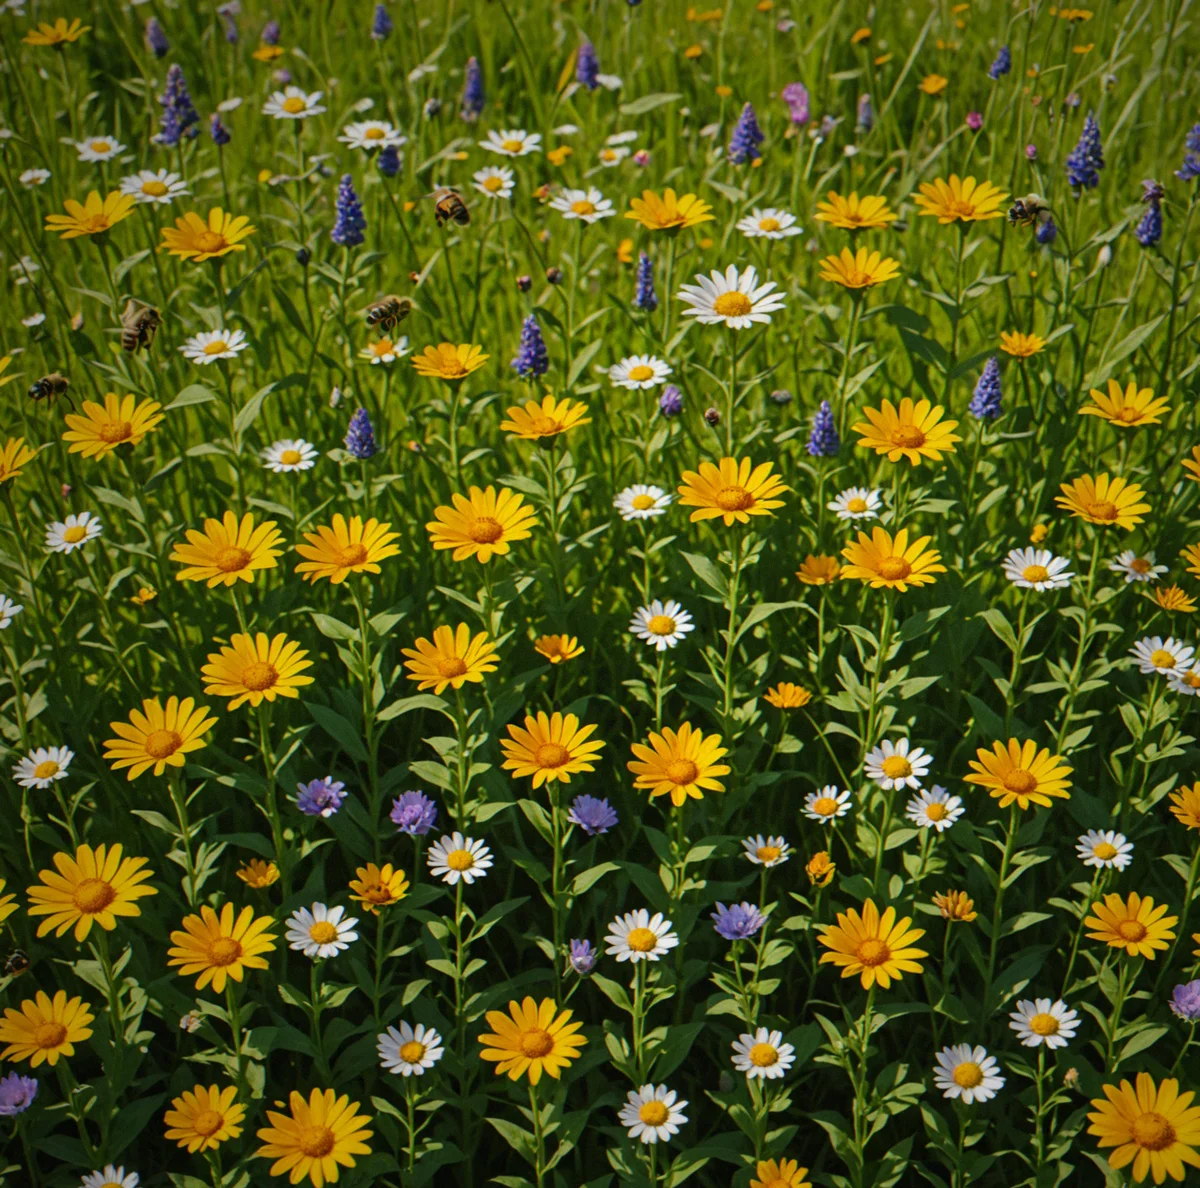
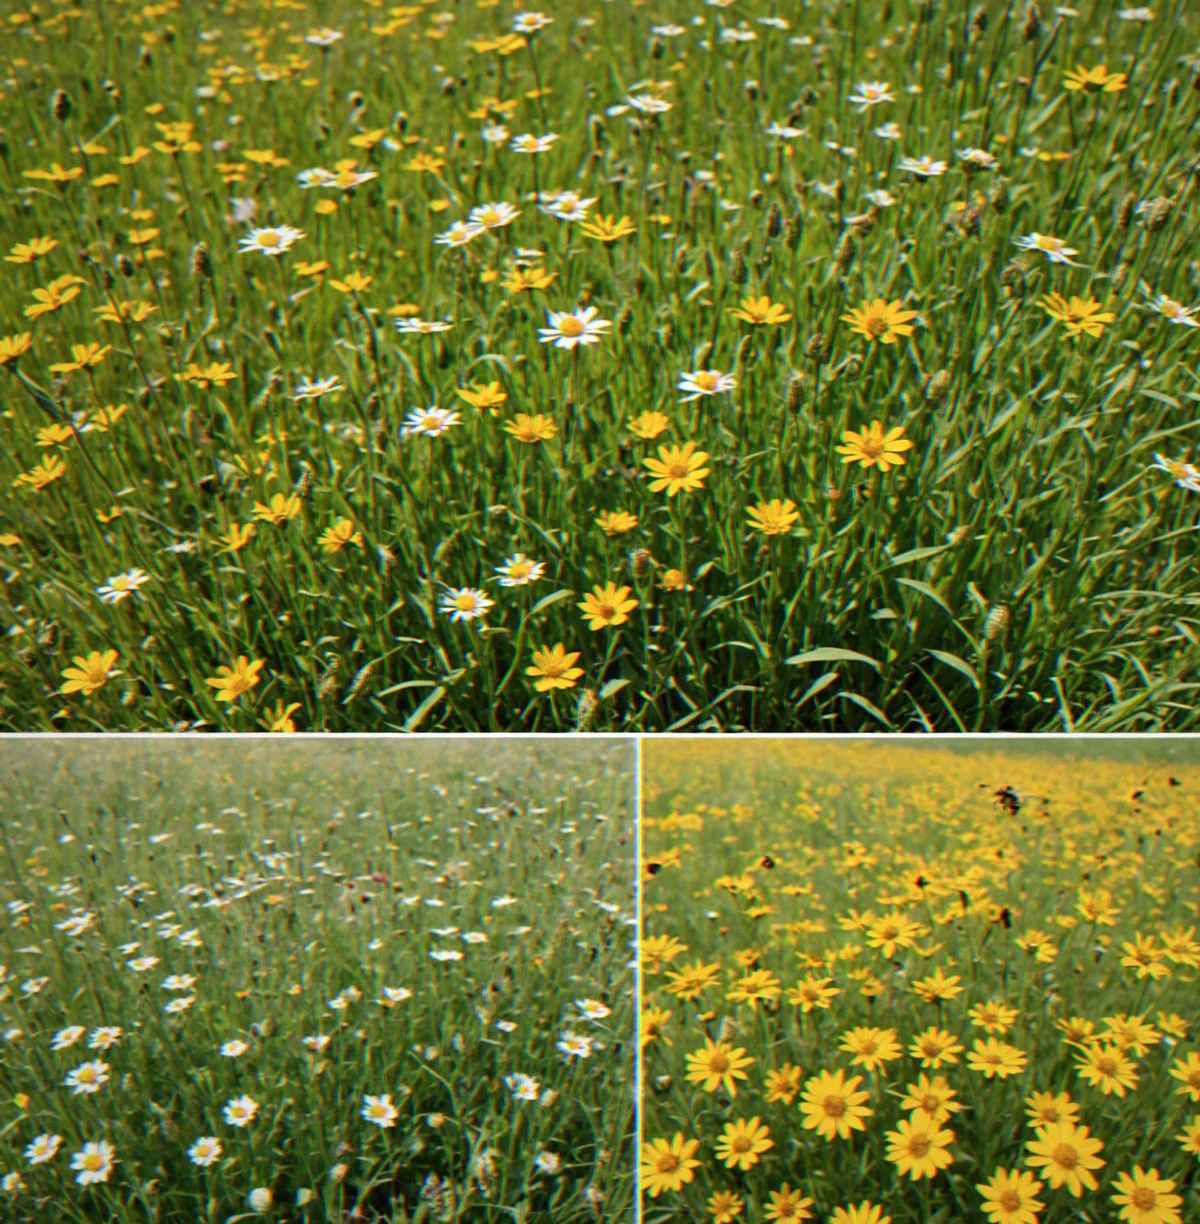
Replayability Built In
No two runs feel identical. Different pollinator unlock timings, seasonal modifiers, regional challenge constraints keep shifting what you're working with. Each playthrough surfaces new optimization angles because the variables won't stay the same.
No Pay-to-Win
Buy it once and you're done. Leaderboards are skill-based. No battle pass, no cosmetic advantages, no shortcuts to the top rank. Every edge you see on the board came from someone's actual optimization work.
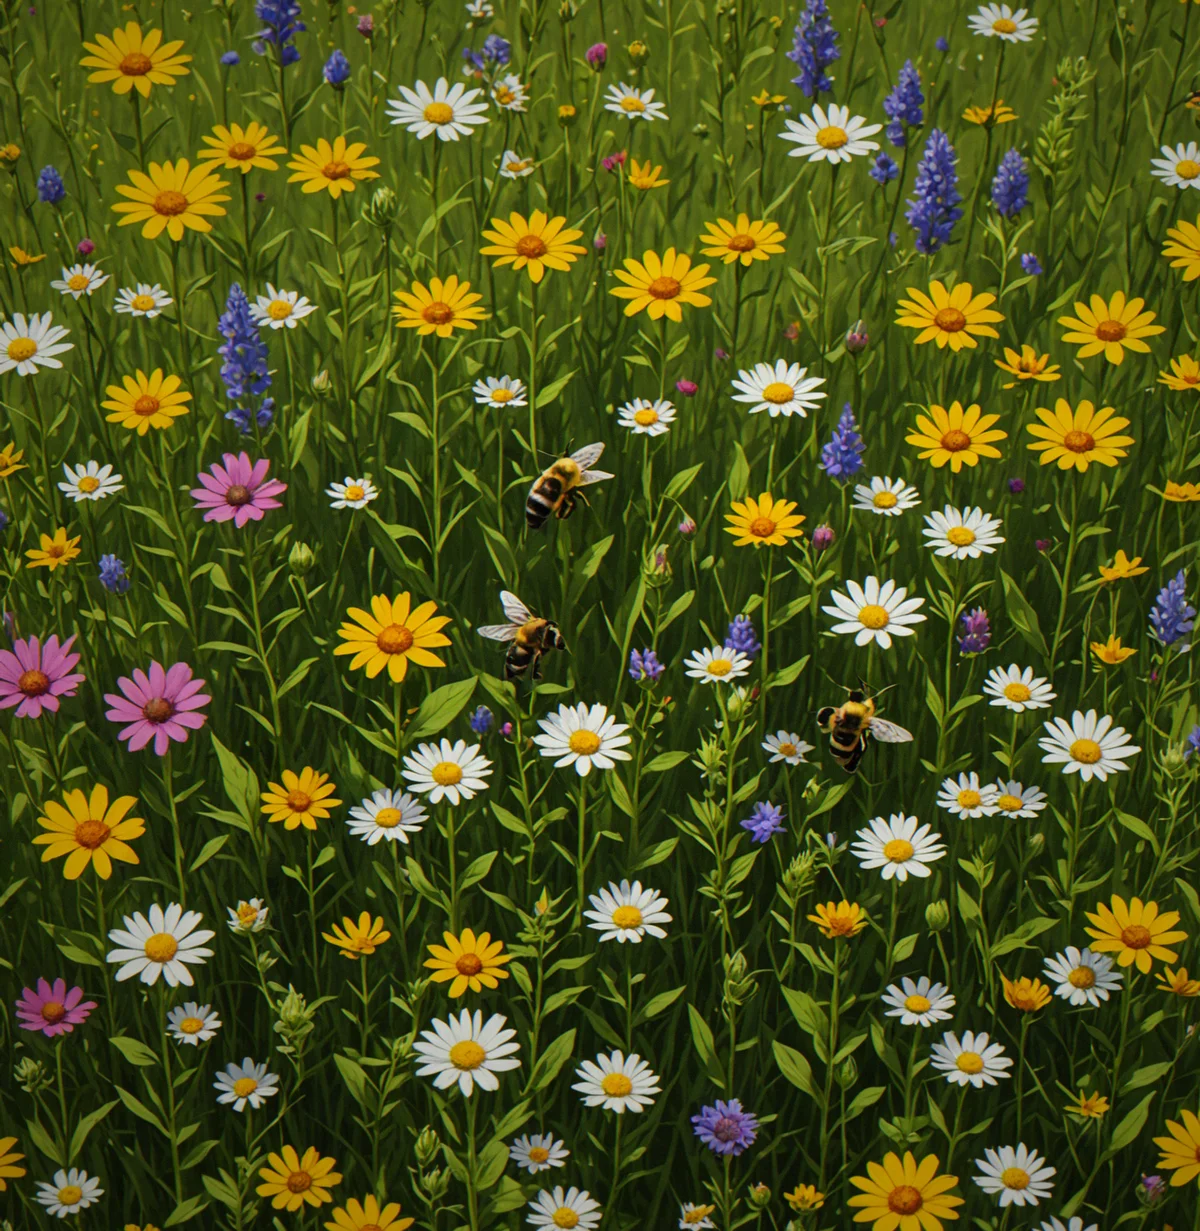
Five Systems That Drive the Game
Rapidmeadow mixes farming strategy with speedrun pressure. Each piece does something specific.
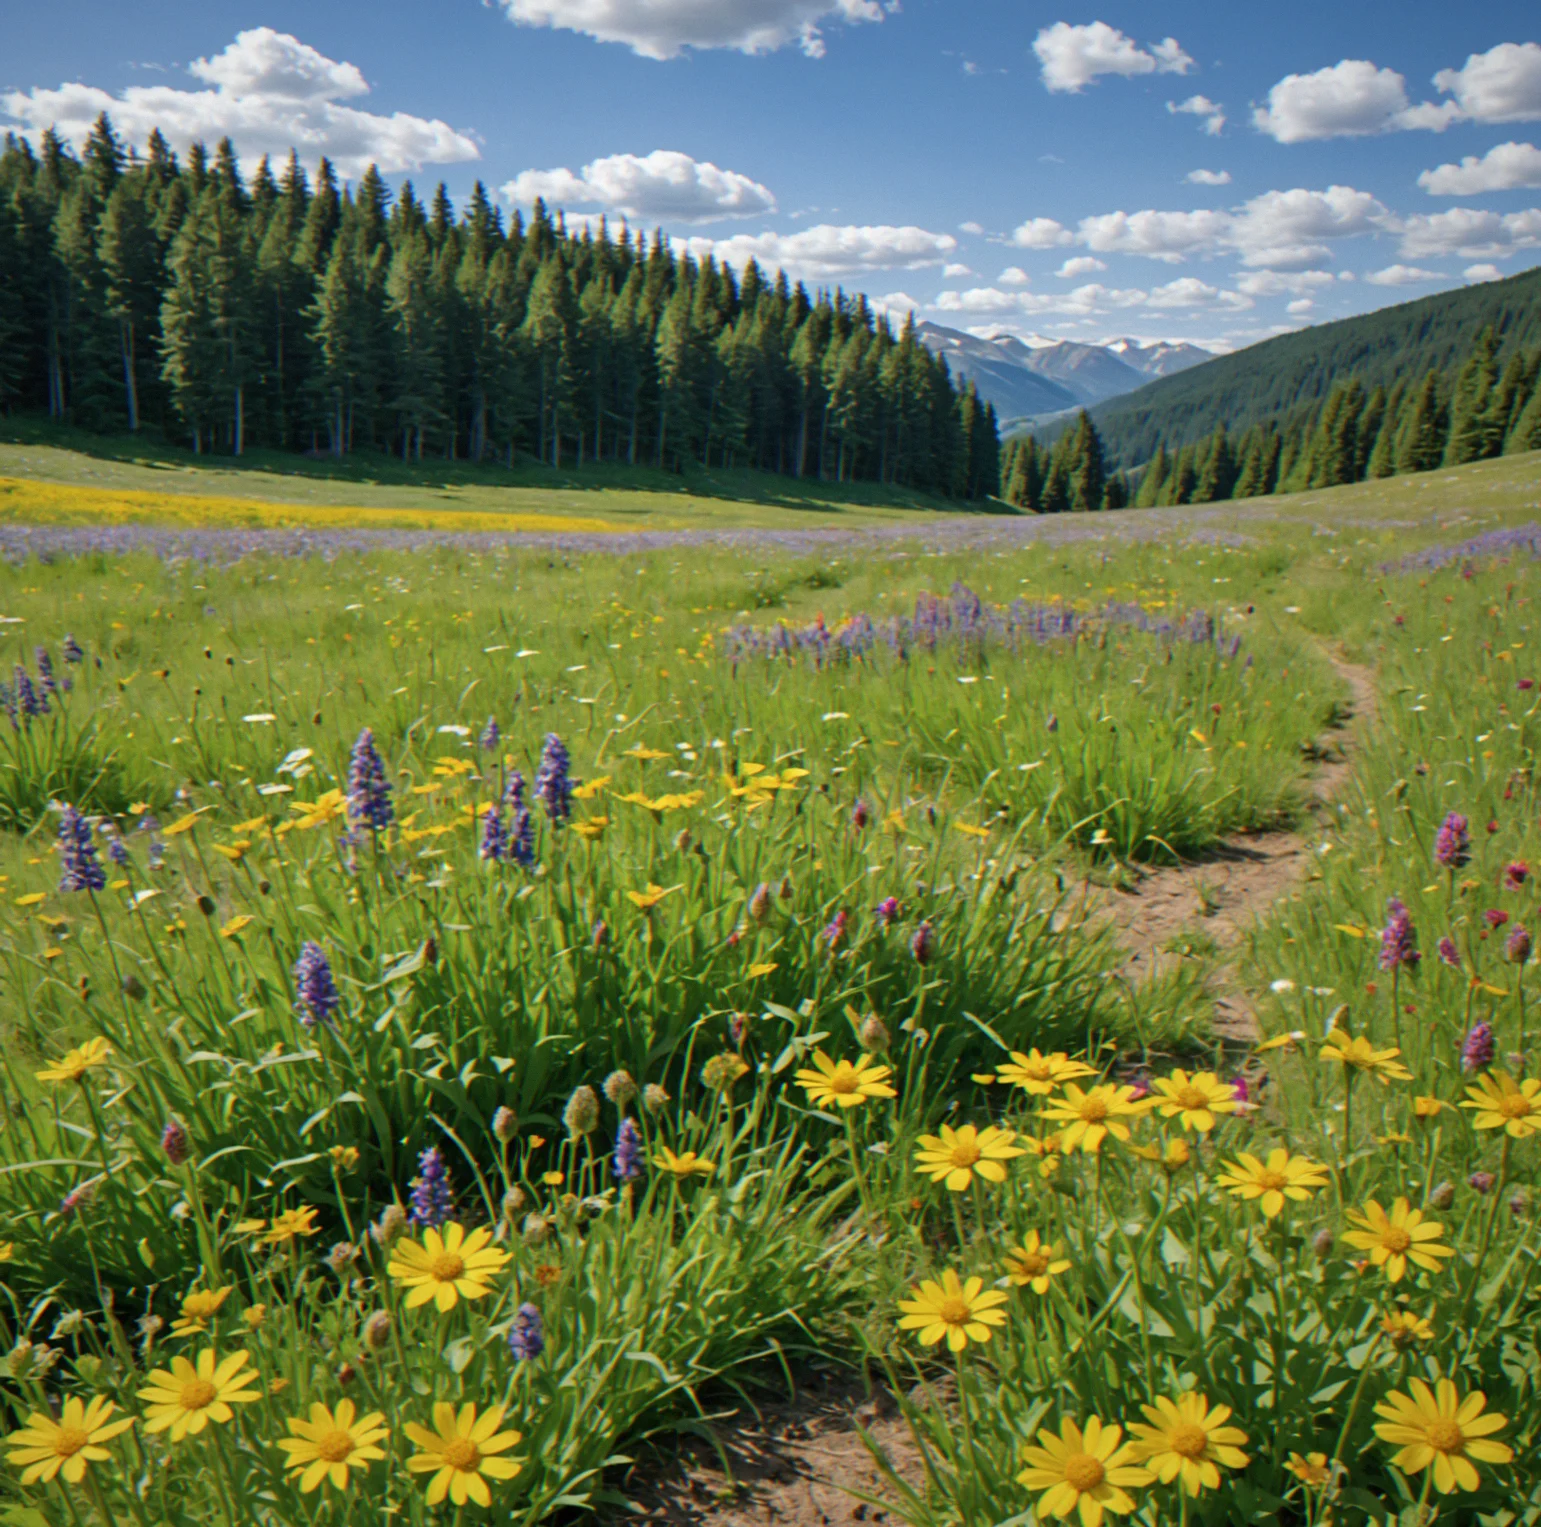
Seasonal Time Limits
Spring is day 1. Autumn ends at day 120. Winter locks everything and submits your score. You can't pause or ask for more time. The deadline forces you to think faster, not just play longer.
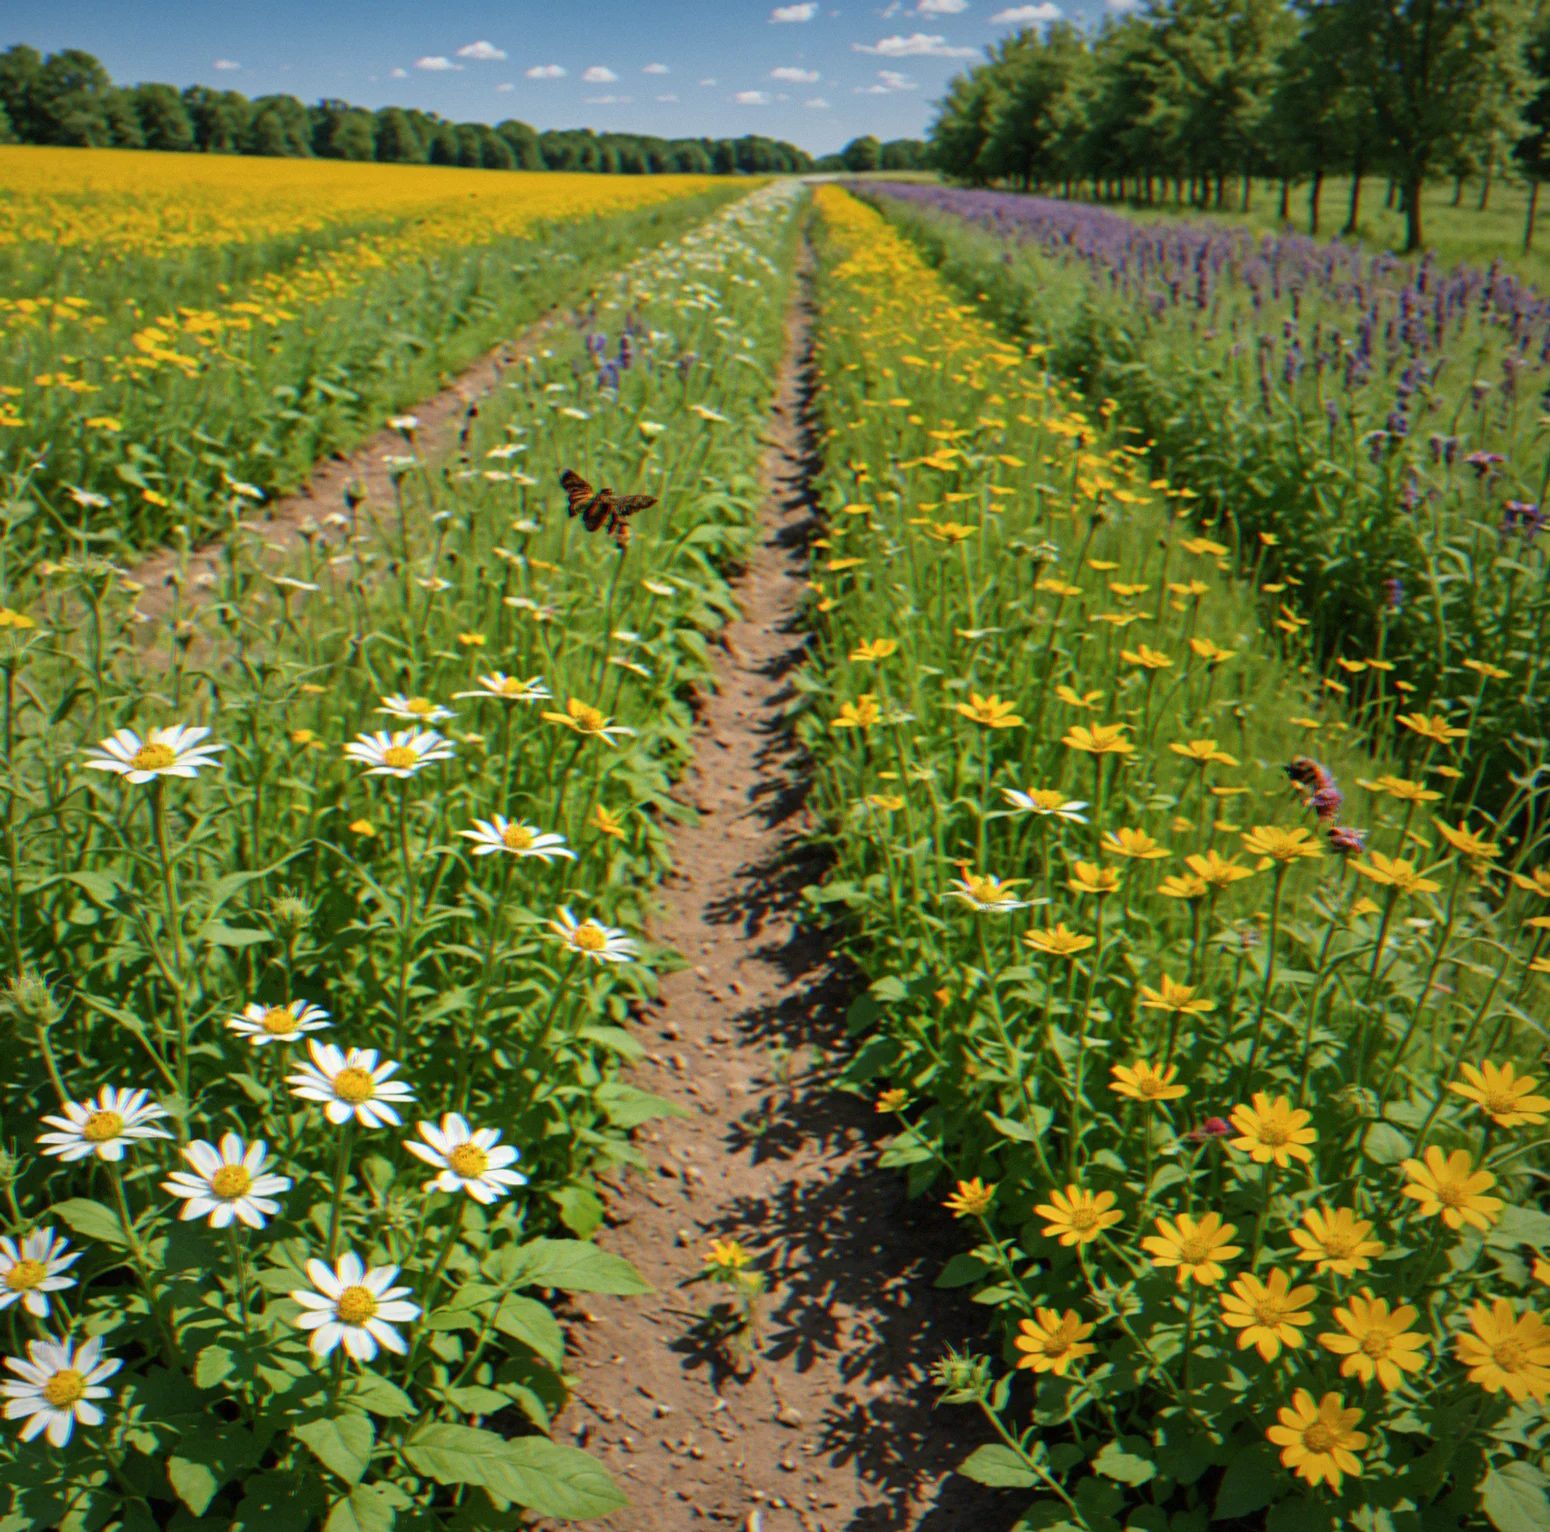
Pollinator Relationships
How fast crops grow depends on pollinator synergies. A tomato alone takes 8 days. Add a honeybee nearby and it's down to 5. Throw in borage as a companion plant and you hit 3.2 days. That gap between casual and competitive grows from there.
Leaderboard Ranking
Single metric. Harvest value per in-game day. No randomness, no ambiguity.
Crop and Pollinator Variety
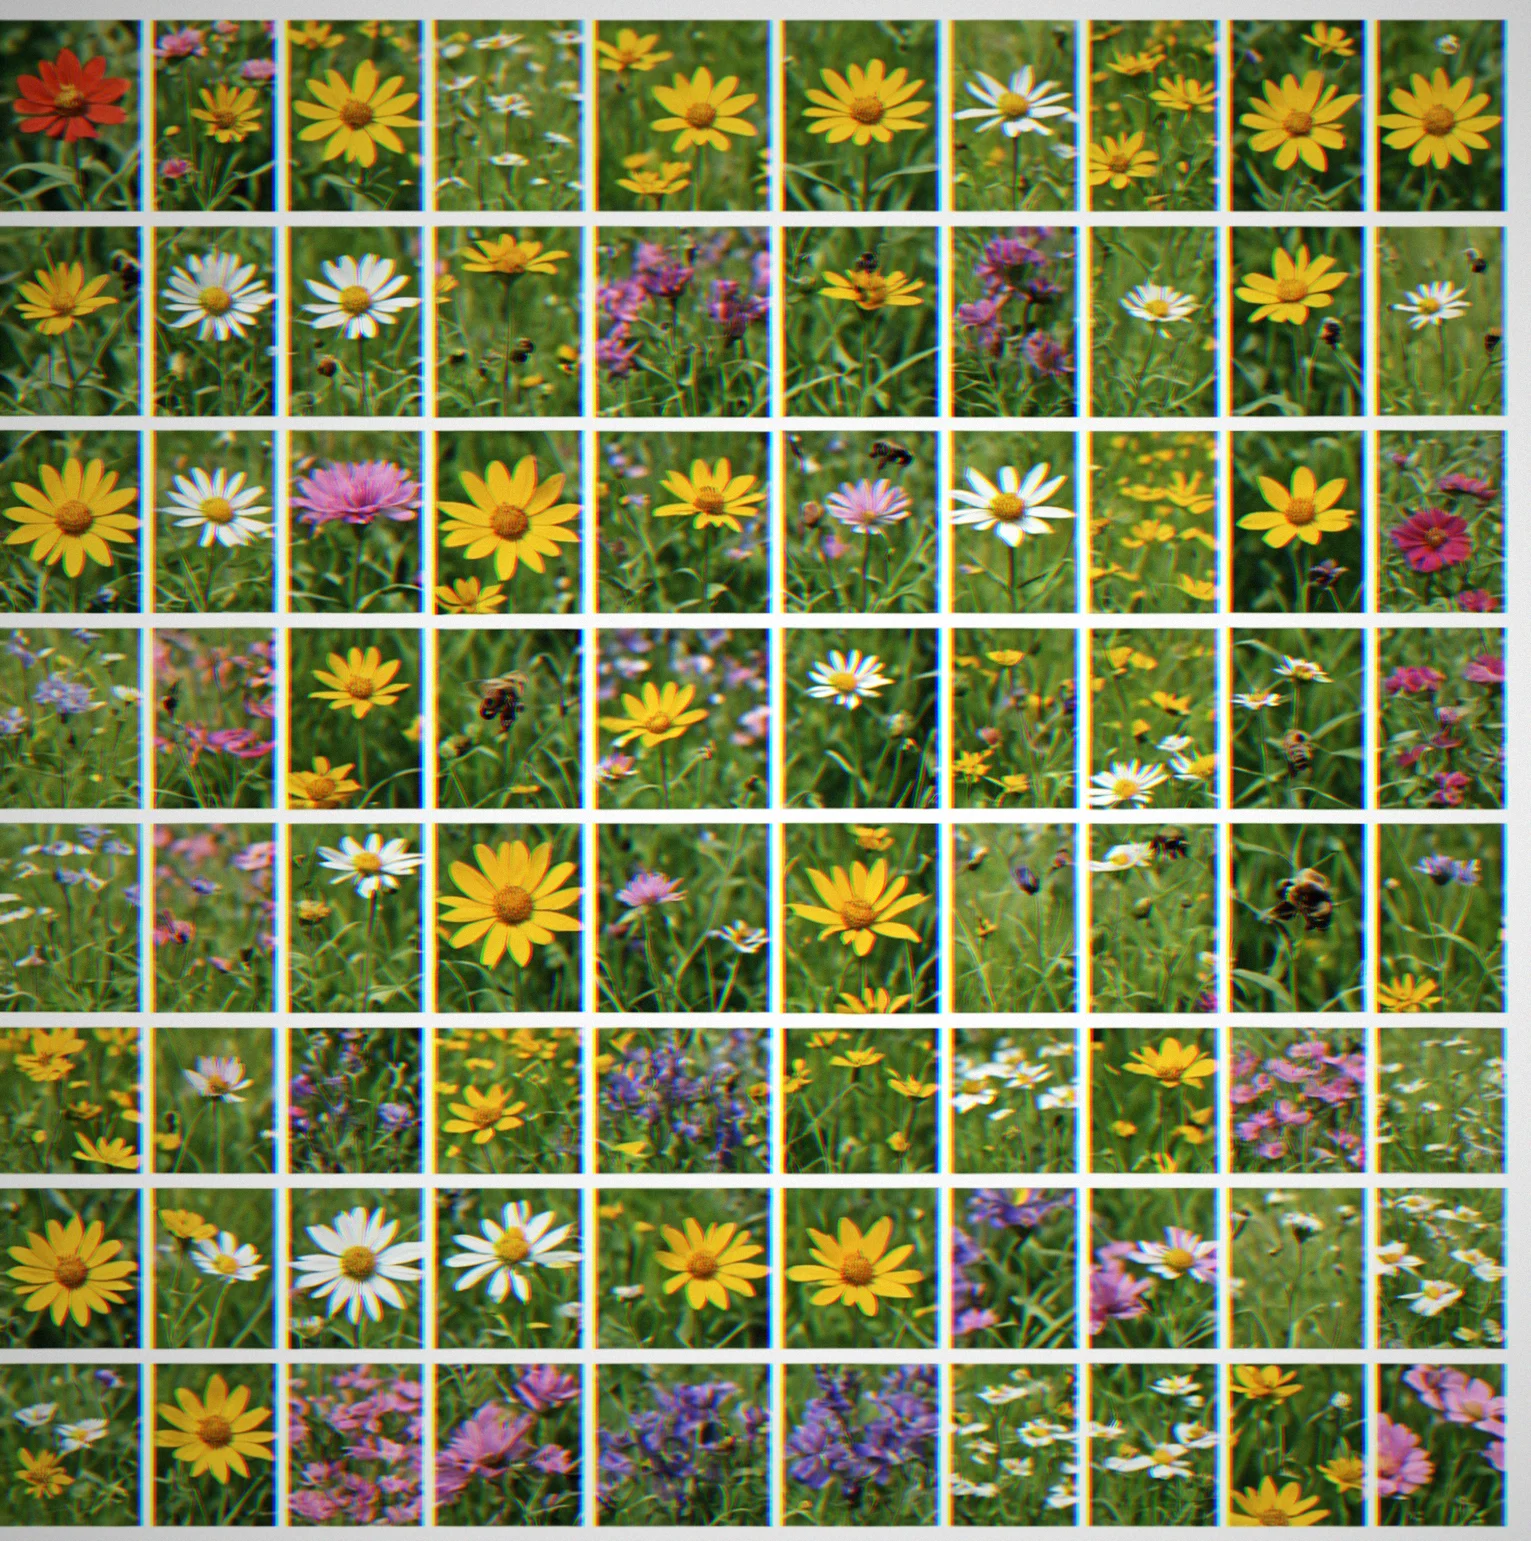
You unlock around 40 crops as you progress. Five pollinator types show up during different seasons. Figuring out which plants work best with which pollinators is the whole puzzle. Get the pairing right and growth rates multiply.
Run-to-Run Learning
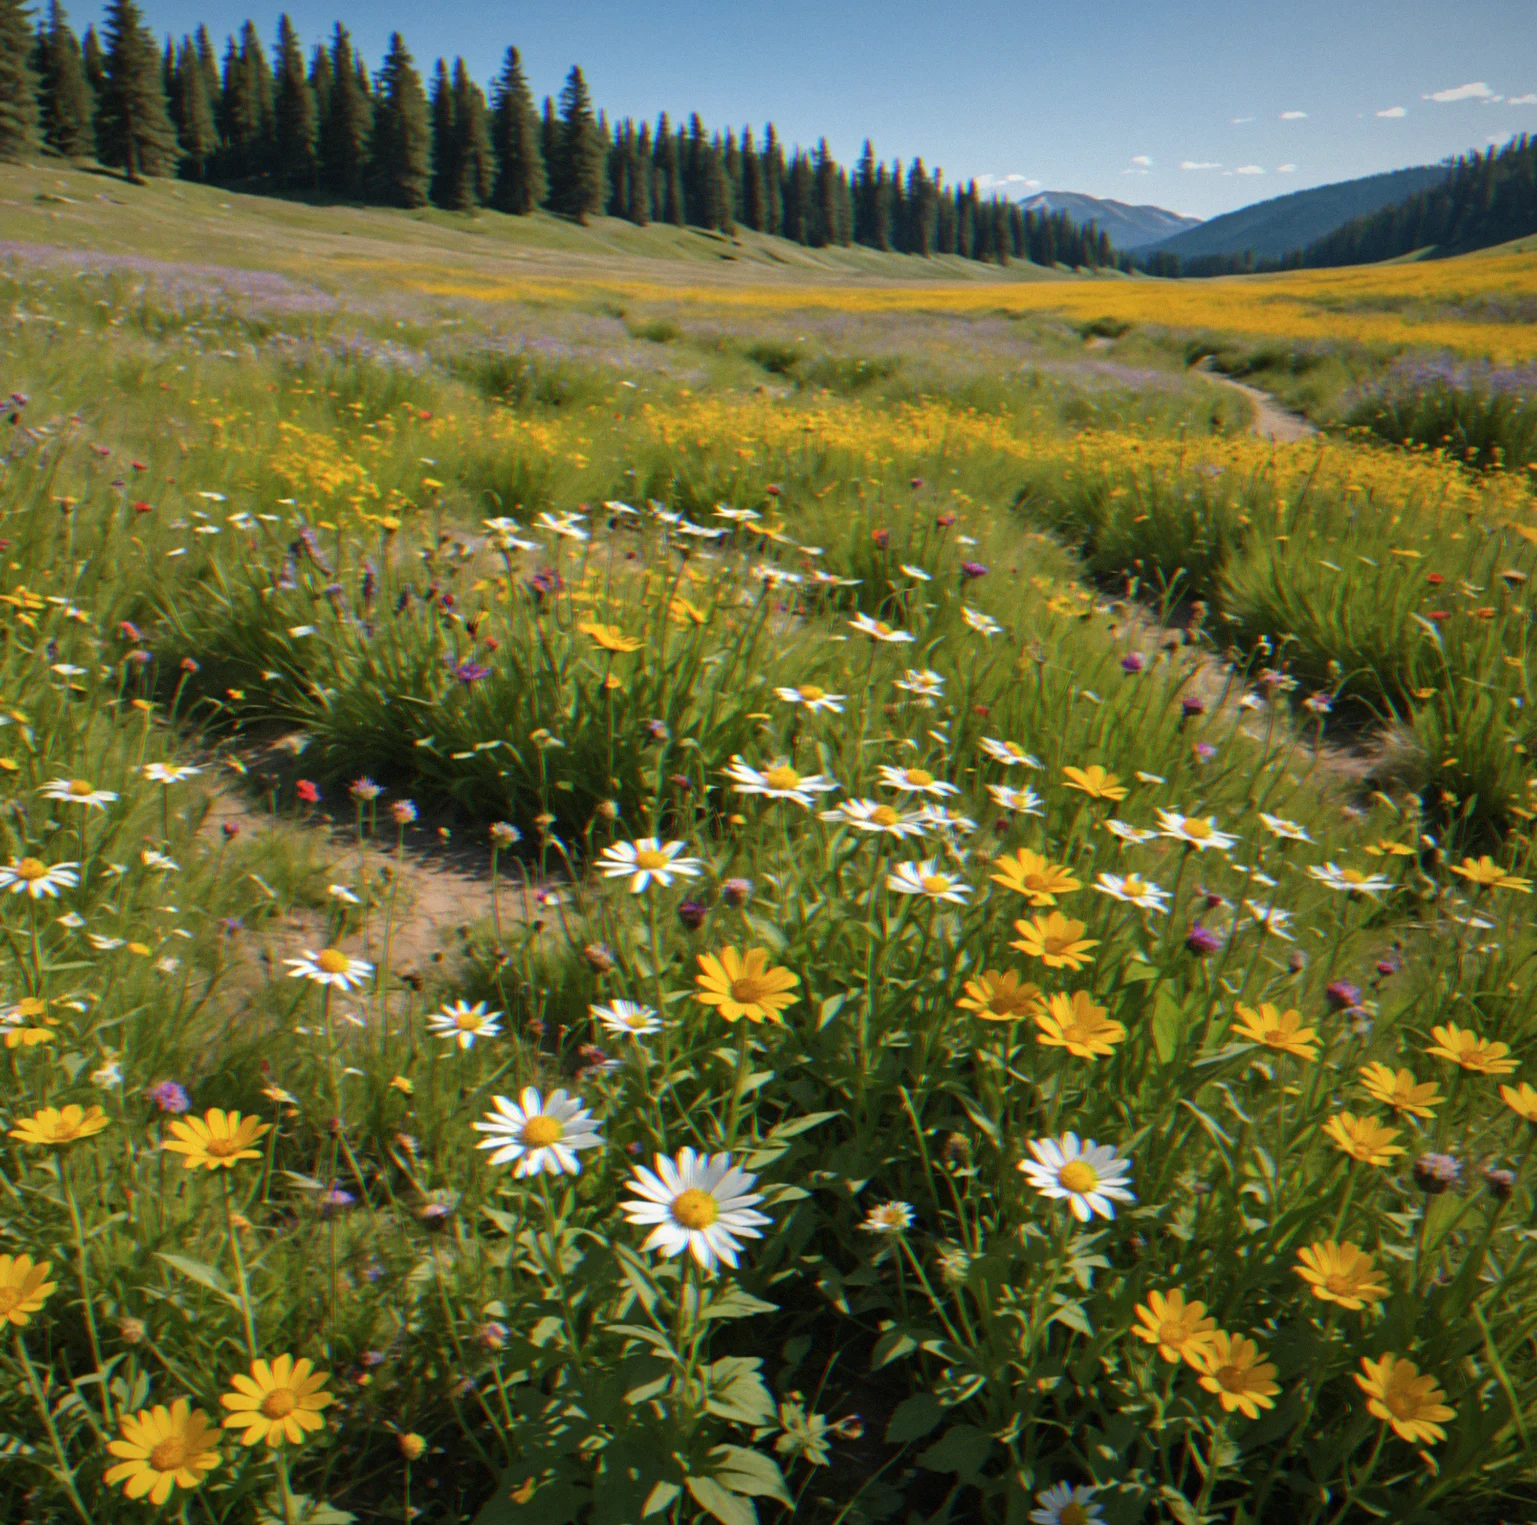
Every playthrough teaches you something concrete. Better plot spacing. When pollinators actually arrive. Crop rotation sequences that work. By your tenth run you're hunting for tiny improvements that most players never even look for.
Seasonal Gameplay Journey
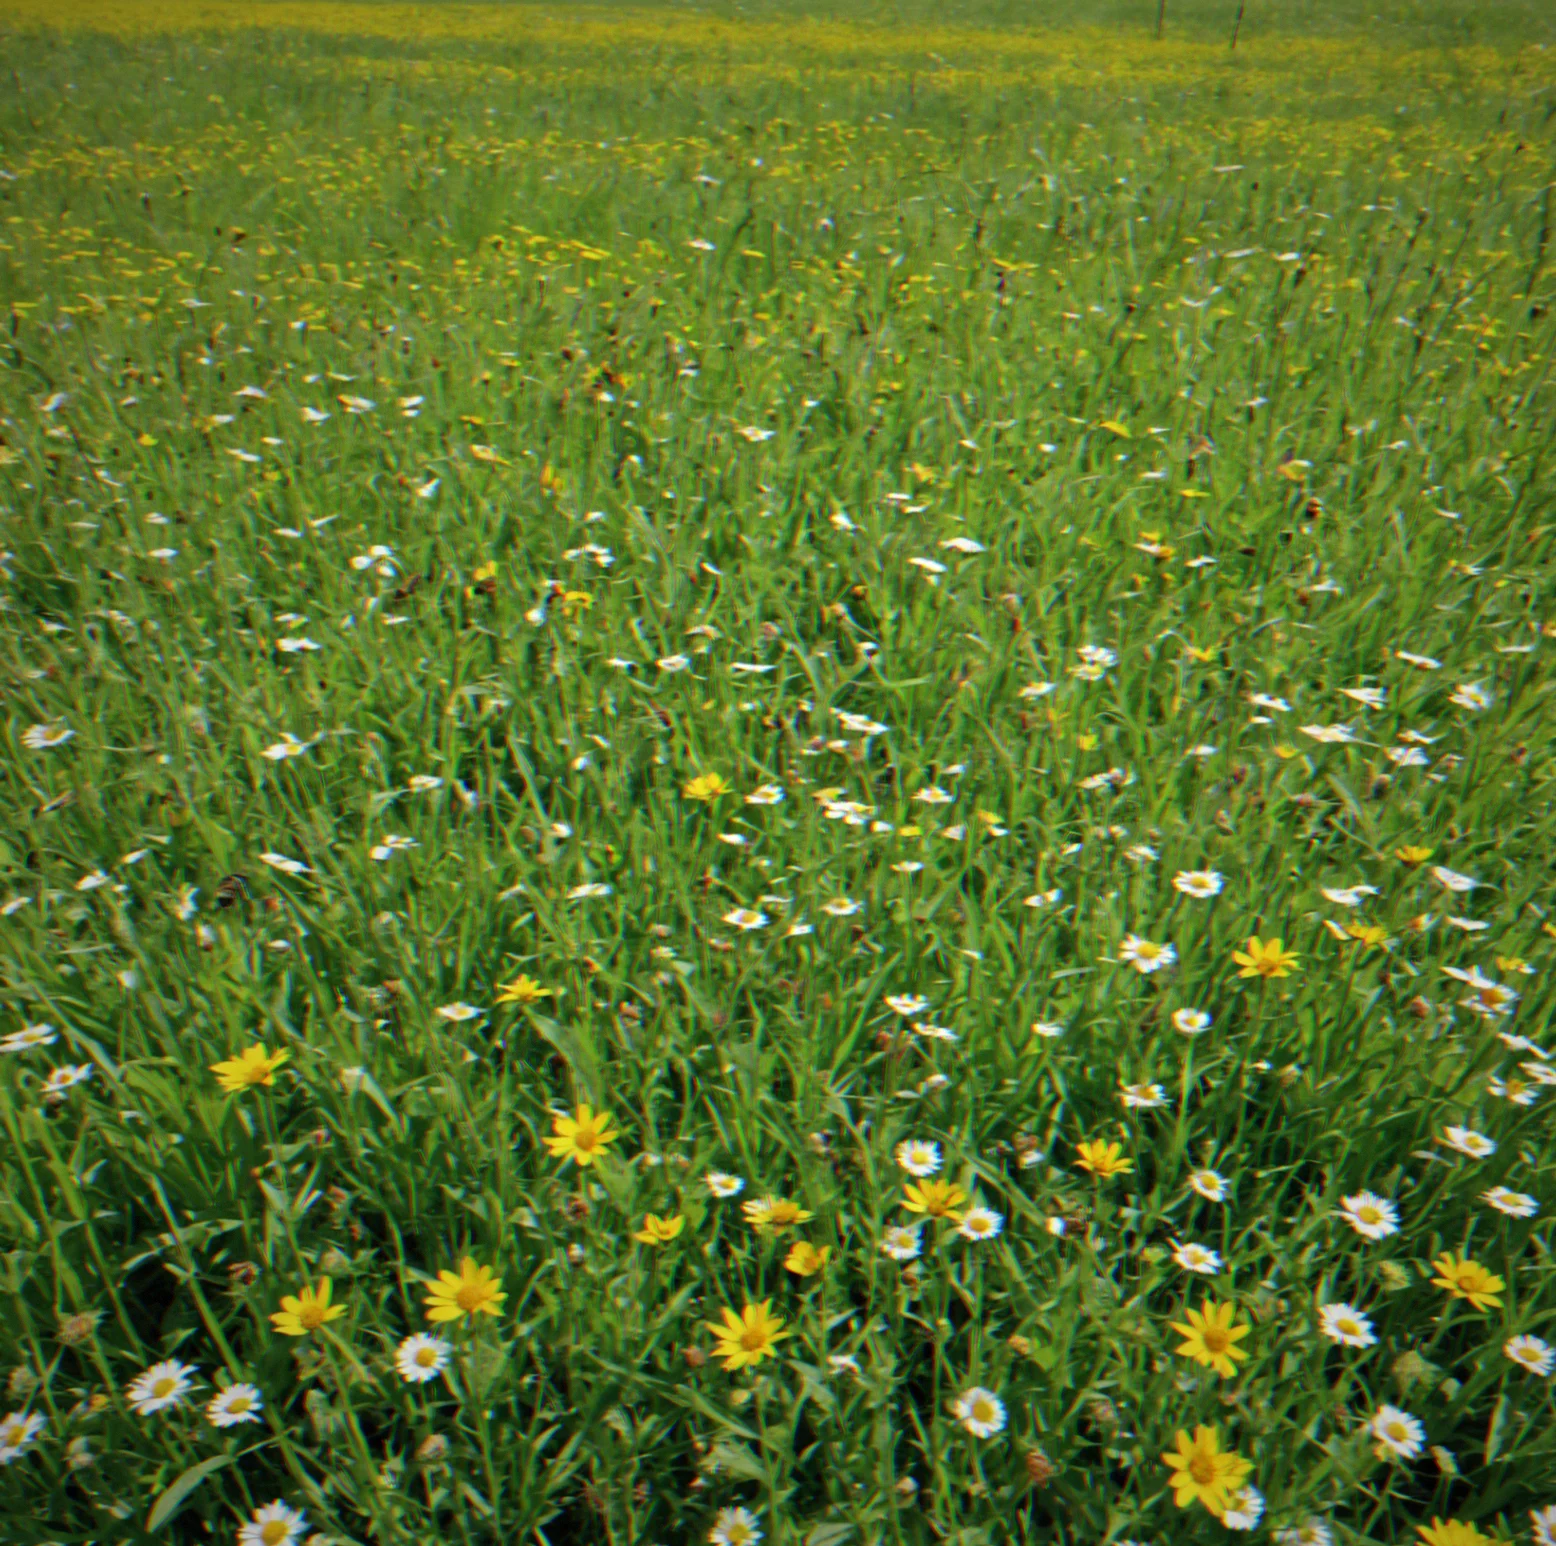
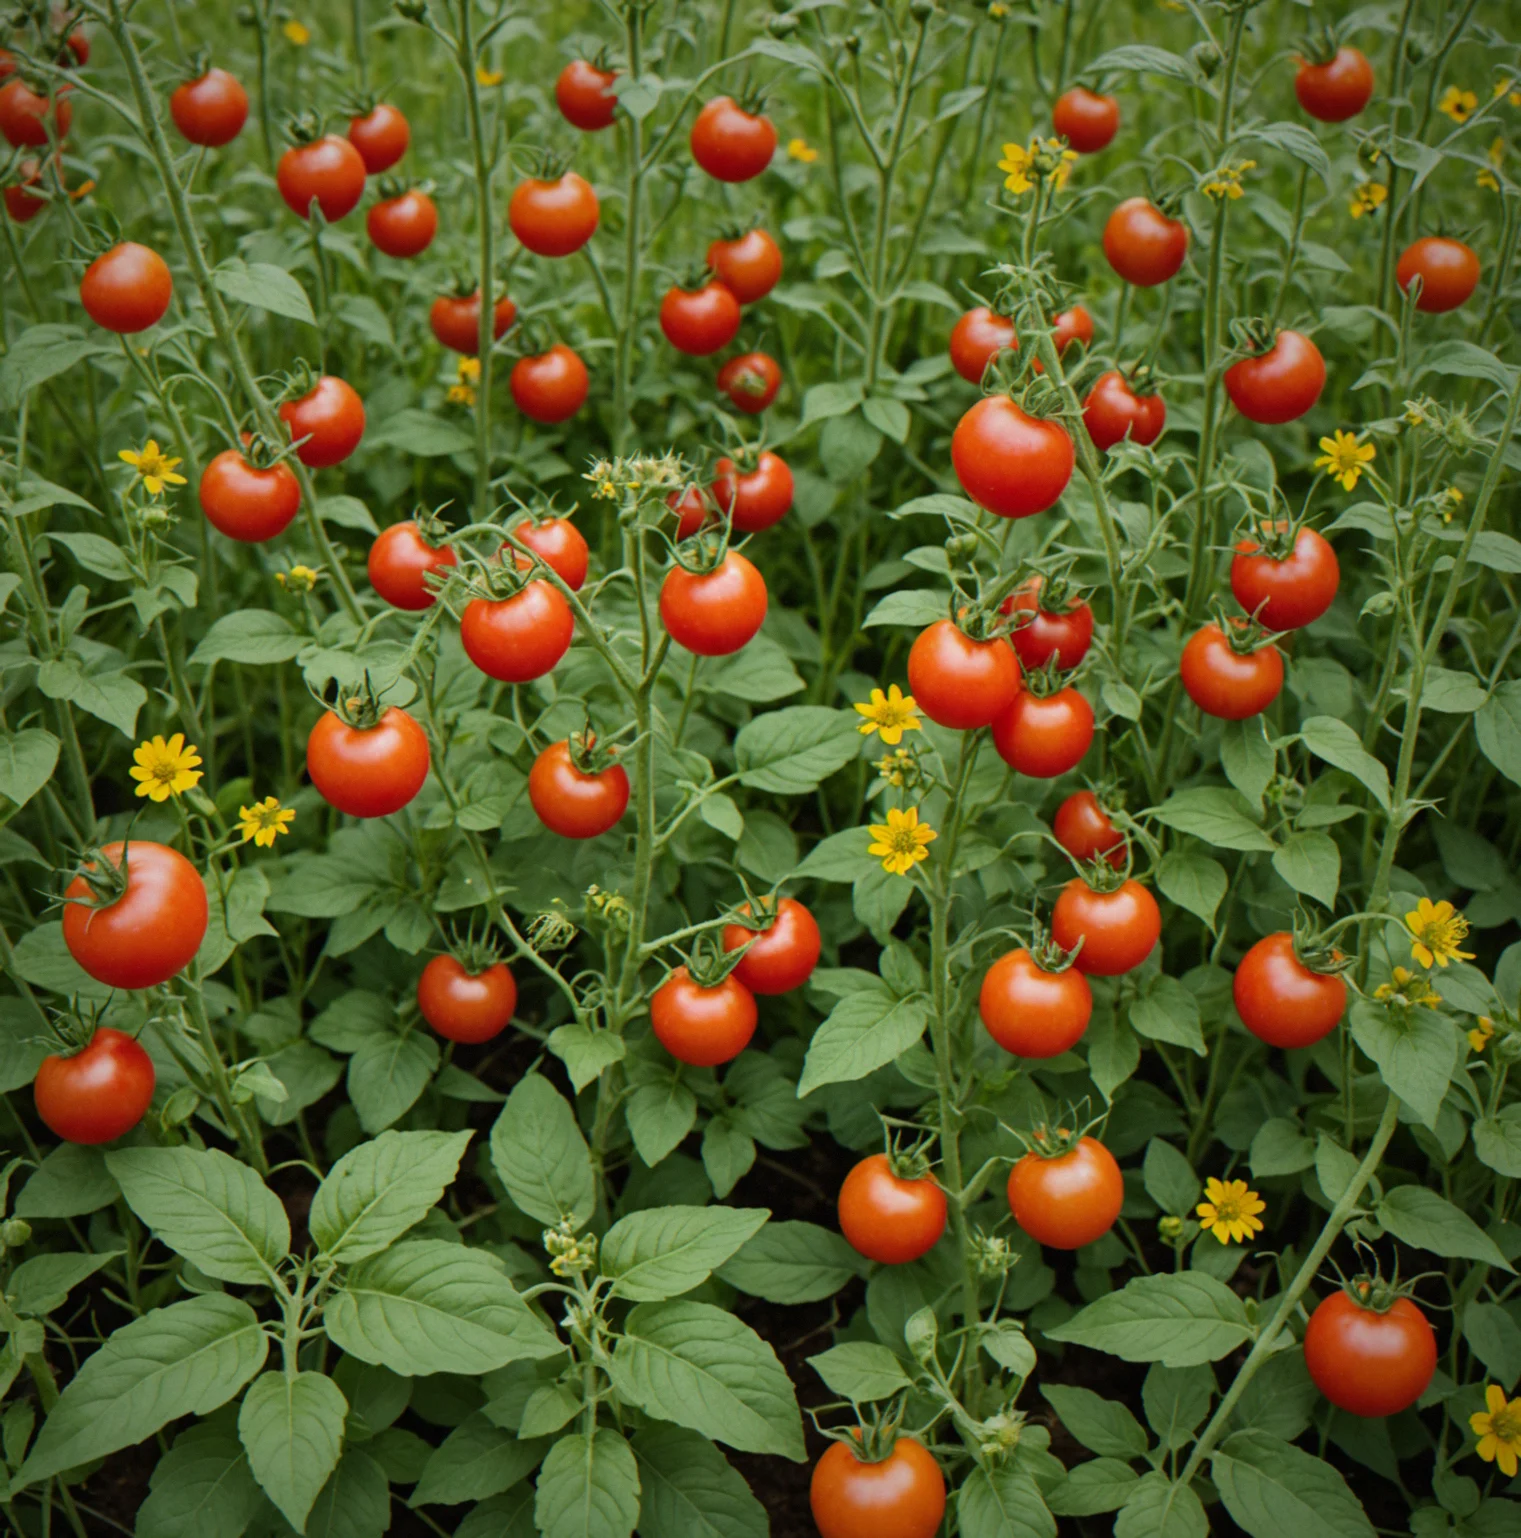
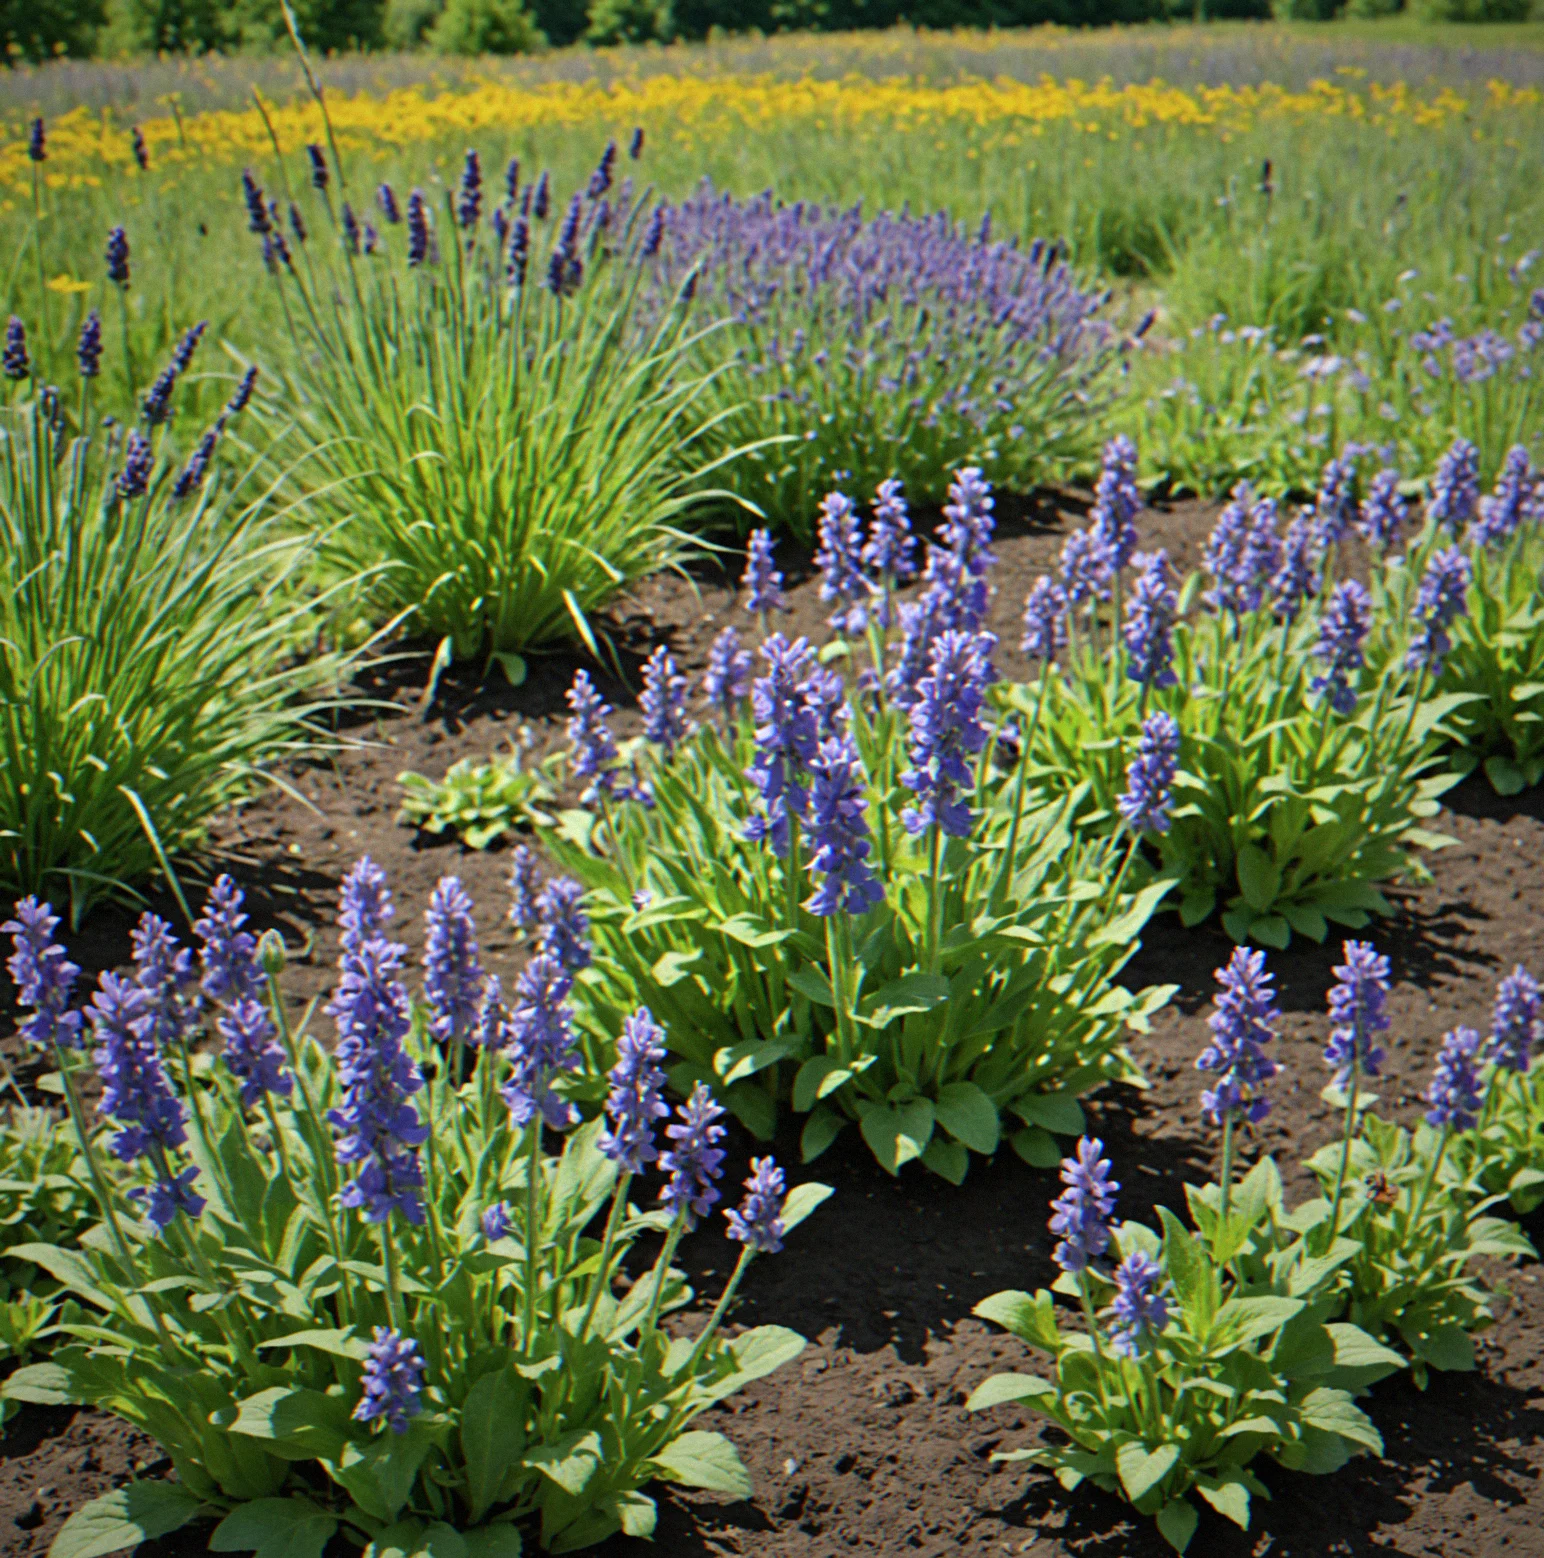
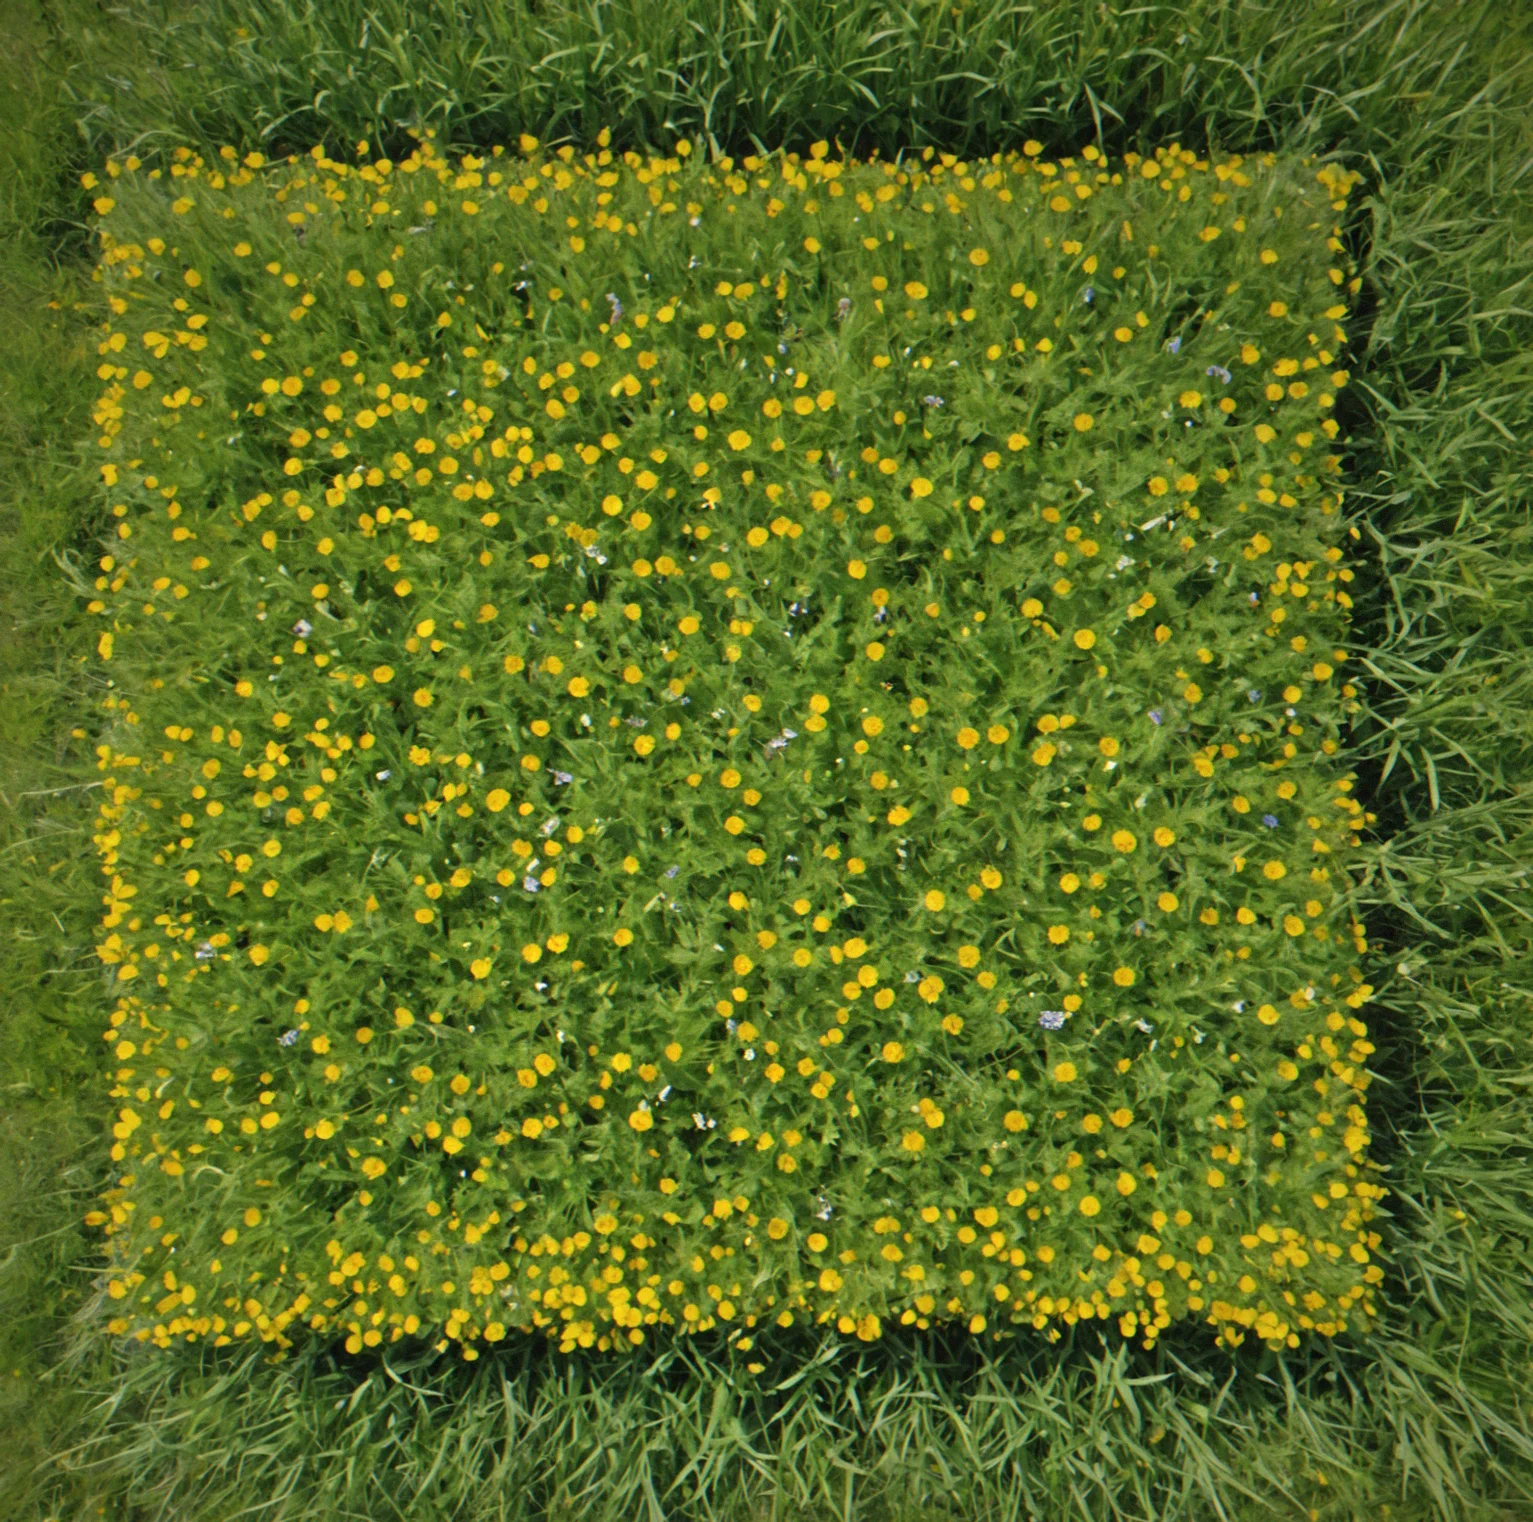
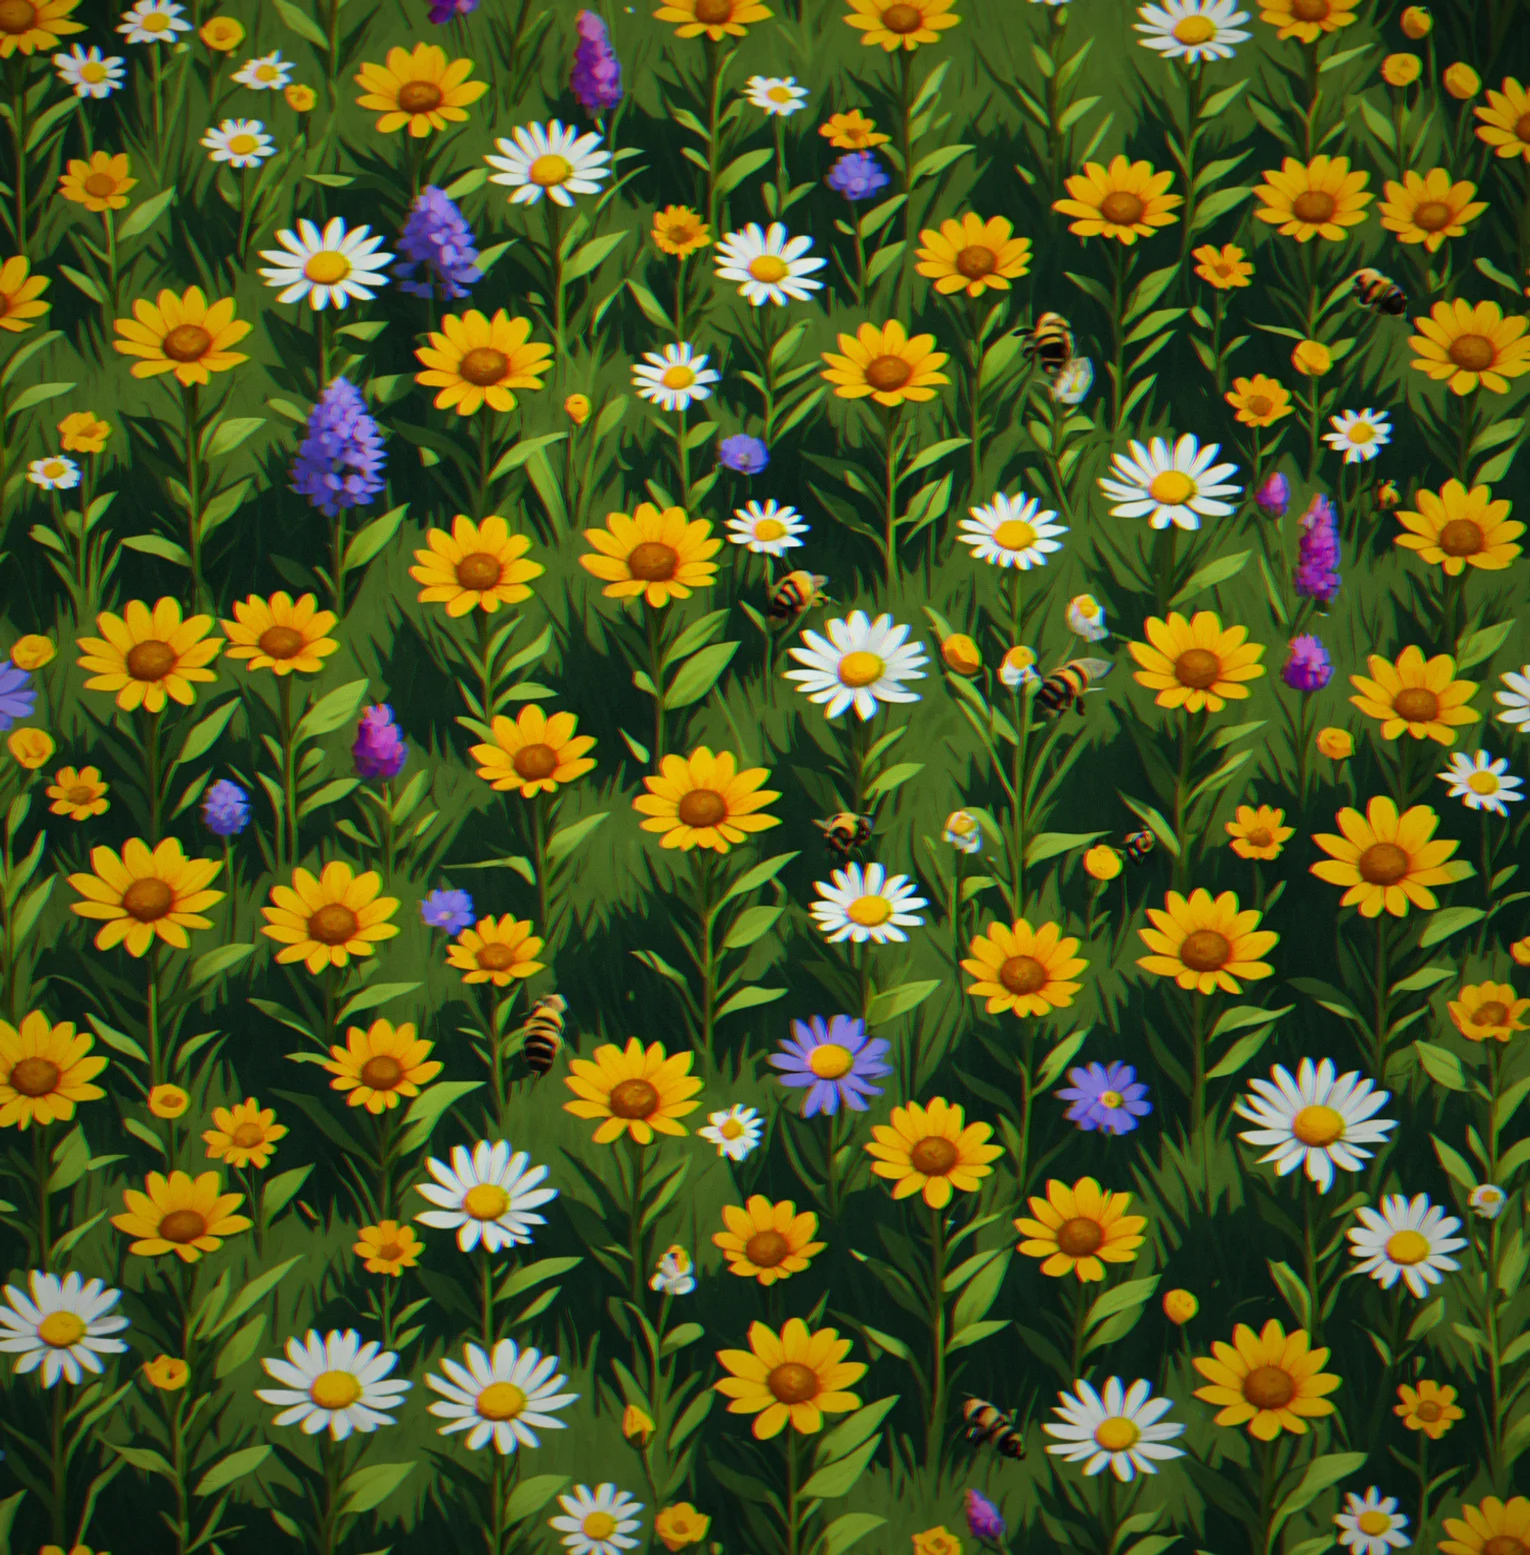
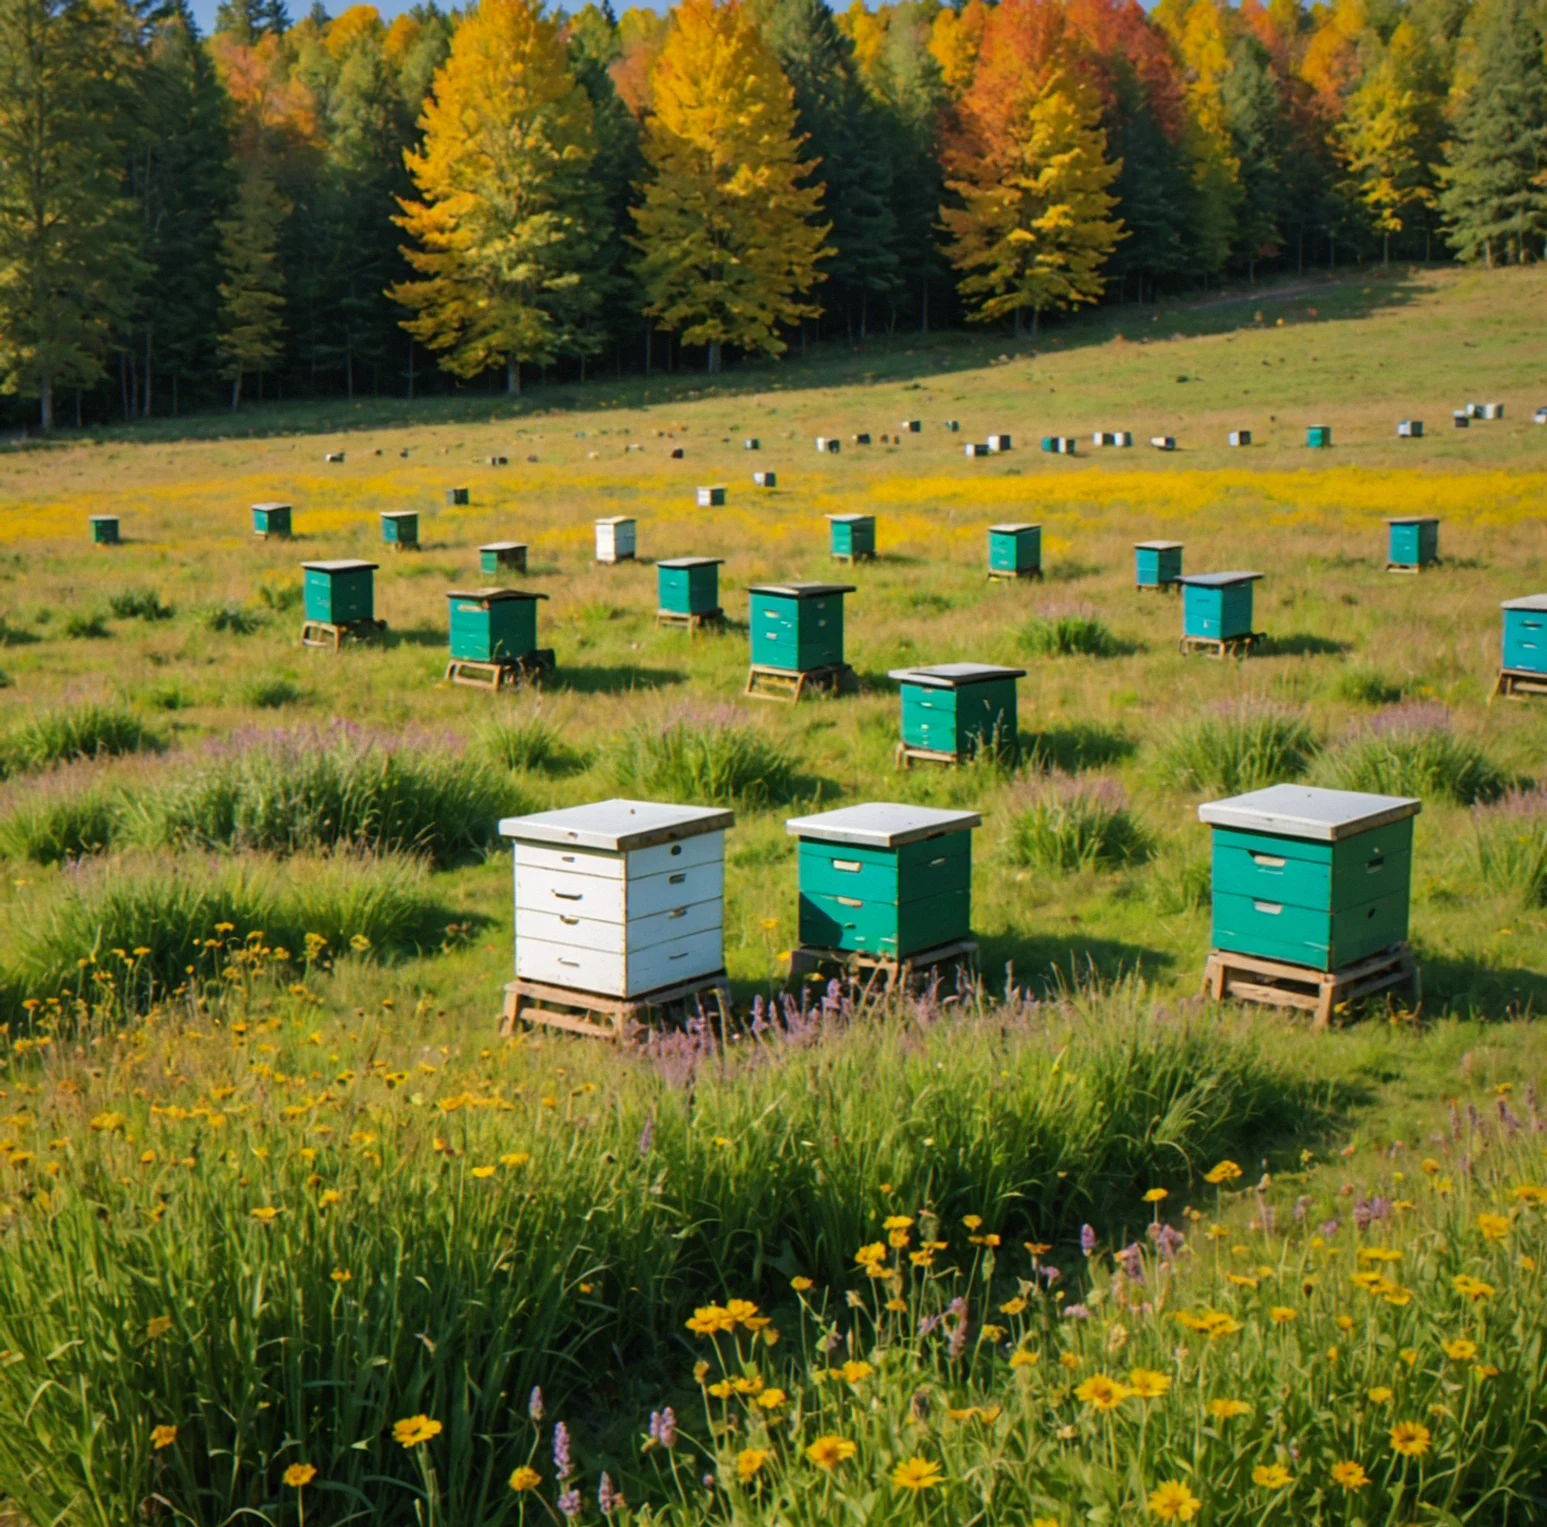
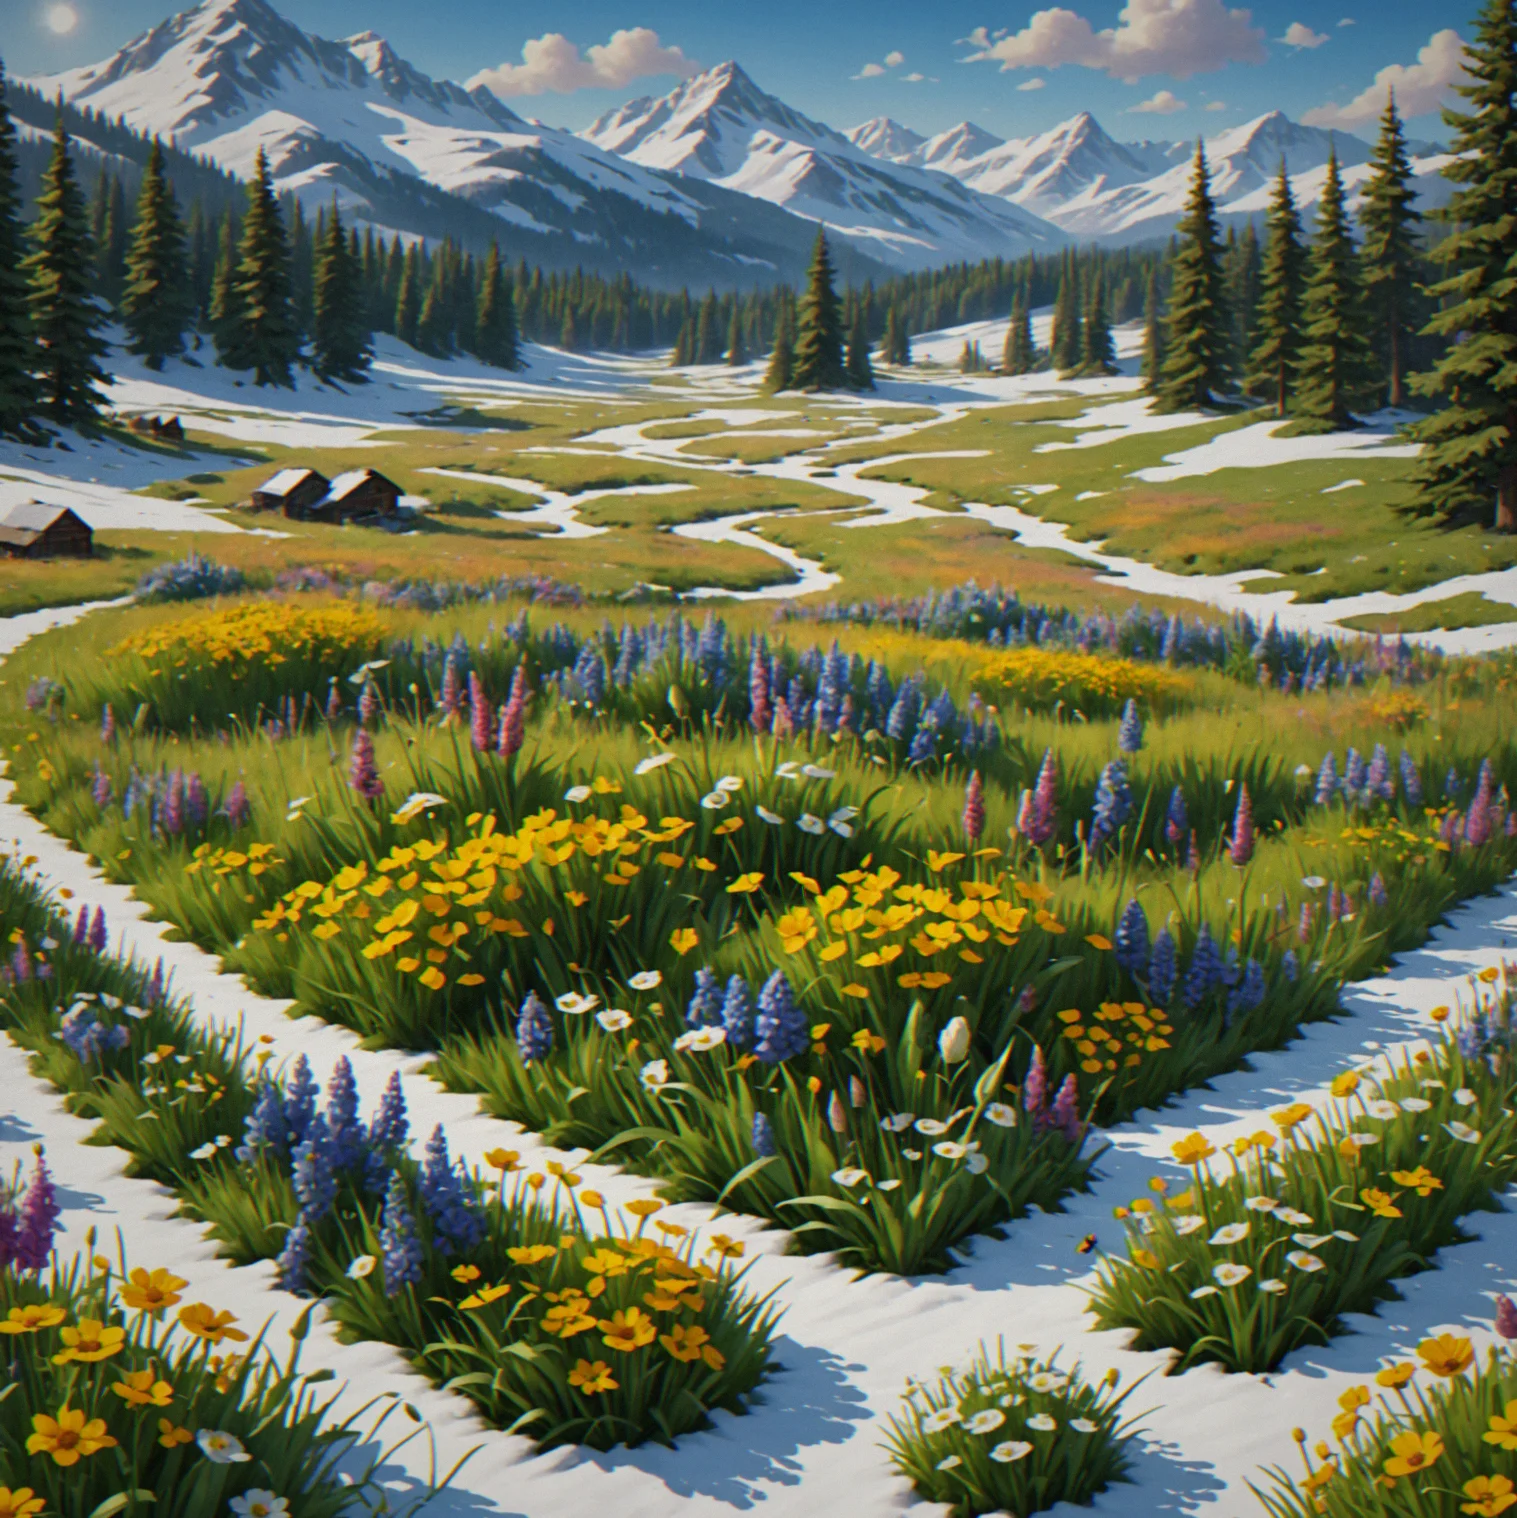
Spring day 1 with a fresh farm, empty plots waiting for seeds and a basic honeybee hive just placed, timer counting down 120 days
Common Questions
Rapidmeadow FAQ
Each season runs 120 days. There's one leaderboard metric. Here's what you need to know before you start.
First time through takes 3 to 5 hours. Once you've done it a few times, you're looking at 1.5 to 2.5 hours. Most people run 2 or 3 per week. That's where optimization kicks in—every run teaches you something that makes the next one faster.
Nope. Time keeps moving no matter what. Winter's coming regardless of whether you're ready. That's the whole design—the timer is the challenge.
Your harvest points drop and your rank reflects it. Then you run again. By your fifth attempt you'll see how the pieces fit together well enough to nail a plan on day one. That's basically the learning process.
Ten bucks gets you the full game, forever. No skins, no battle pass, no shortcuts to progression. The leaderboard is pure skill, and that's what counts.
Yeah. Your scores upload to the leaderboard when you're back online. Grind as many local runs as you want and post them whenever you reconnect.